Can I Install a Chimney Cap Myself A DIY Guide – Chimcare Chimney Caps
Introduction
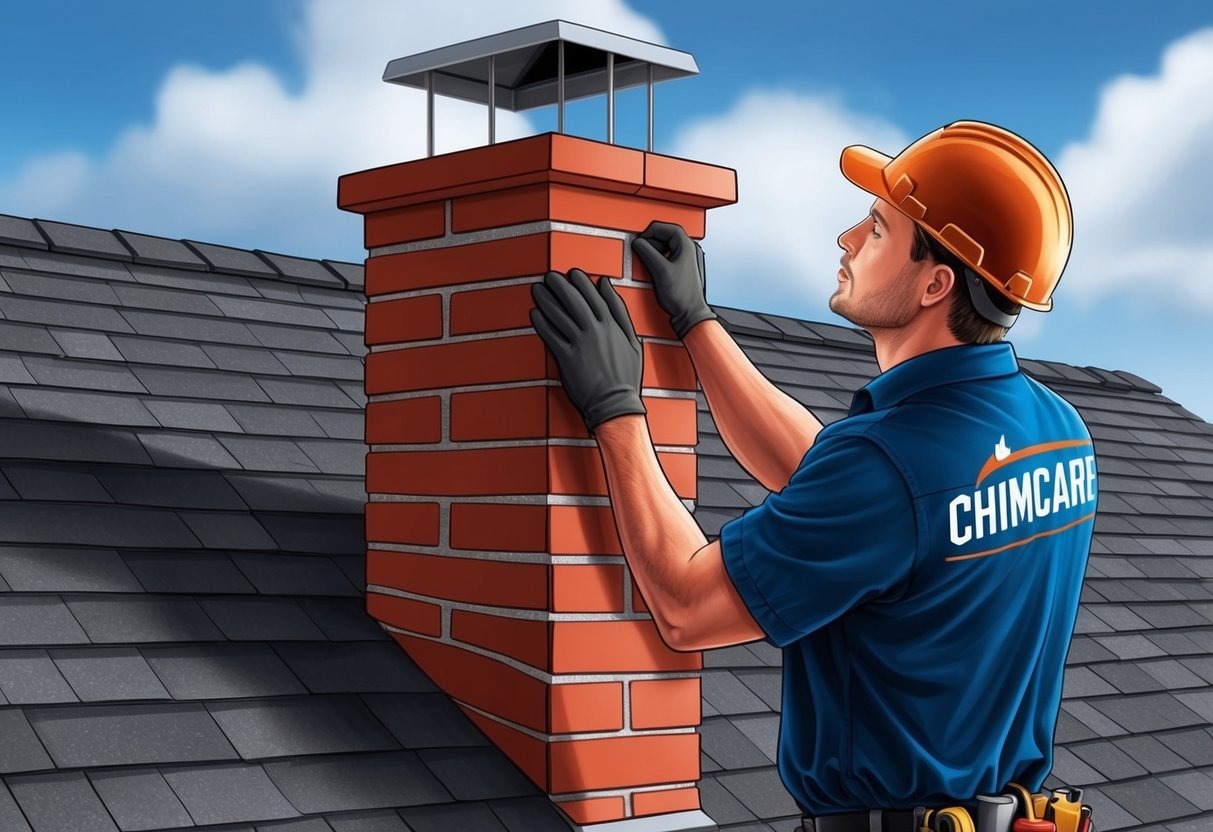
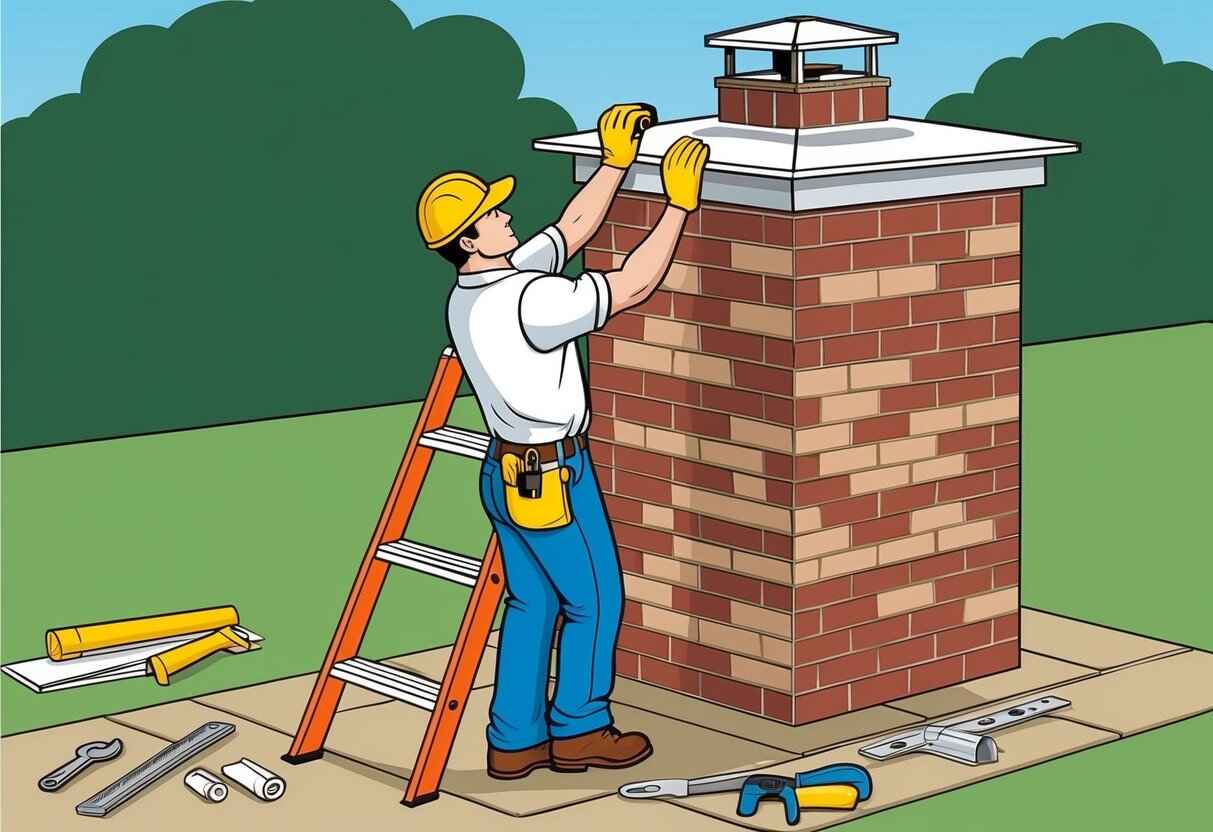
When it comes to home improvement, many projects seem daunting, and installing a chimney cap is often among them. With the right guidance and tools, this task becomes not only manageable but also cost-effective. Yes, you can install a chimney cap yourself. Doing so not only helps protect your home from water damage and unwanted critters but also improves overall efficiency.
Installing a chimney cap requires some planning and consideration for safety. Before climbing onto your roof, ensure you have all necessary materials and tools, such as a sturdy ladder and appropriate fasteners. Preparing your workspace by cleaning away debris and having the proper equipment is crucial to a successful installation.
Patience and attention to detail are key to this DIY project. Following a step-by-step guide, which includes securing the cap and ensuring it is level, will help achieve a professional finish. For those who are comfortable with home improvement tasks, this is a rewarding project that enhances both function and appearance.
Key Takeaways
- You can install a chimney cap yourself.
- Proper preparation and safety measures are vital.
- Following a guide ensures a successful installation.
Understanding Chimney Caps
Chimney caps play a vital role in maintaining the safety and efficiency of our chimneys. They protect against weather damage, prevent animals from entering, and improve air draft.
Types of Chimney Caps
There are several types of chimney caps, each serving different needs. A single-flue cap is the most common, designed to cover one chimney flue. It’s versatile and fits snugly, offering strong protection against debris and weather. The multi-flue cap covers multiple flues with one large cap. This option can provide better protection for chimneys with multiple or larger flue openings and offers a more unified aesthetic.
Round chimney caps are designed for chimneys that have a circular or oval opening. They are particularly useful for certain types of older and European-style chimneys. Each type of cap comes in a variety of materials like stainless steel, copper, and galvanized steel, allowing us to choose based on durability and aesthetic appeal.
Functionality and Benefits
Chimney caps offer several crucial benefits. They prevent rain, snow, and debris from entering the chimney, which helps reduce moisture and prevent blockages. Caps act as a barrier against birds and animals, preventing them from nesting in our chimneys and causing obstruction or damage.
By improving draft efficiency, they help ensure that smoke exits properly, reducing the risk of backdraft, which can bring harmful gases back into the home. Additionally, chimney caps protect from downdrafts caused by high winds, which can prevent smoke from being pushed back into our living spaces.
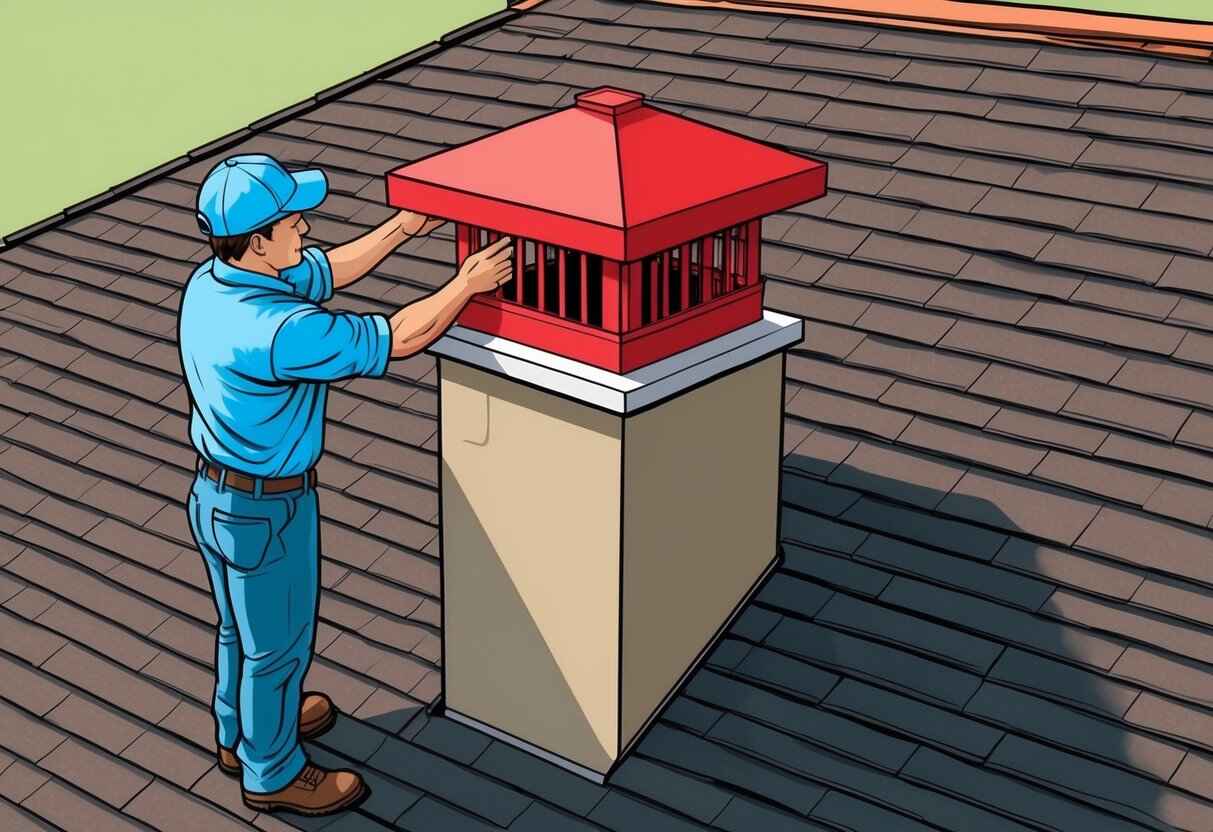
The mesh sides provide additional safeguards, serving as a spark guard to prevent embers from escaping and potentially causing roof fires. These multiple functions underscore the chimney cap’s importance in maintaining a safe, efficient, and well-functioning chimney system.
Pre-Installation Considerations
Before installing a chimney cap, we must ensure precise measurements of the chimney flue and select the appropriate material for the cap. These steps are crucial to ensure compatibility and long-lasting performance.
Measuring Your Chimney Flue
Accurate measurement of the chimney flue is essential. We start by measuring the length and width of a rectangular or square flue or the diameter of a round flue.
Using a tape measure, we can determine the size needed to fit securely over the flue tile or clay flue. For chimneys with multiple flues, each flue should be measured separately, especially if it’s a single-flue chimney. Careful measurement helps prevent drafts and ensures the cap fits properly.
Choosing the Right Material
Selecting the right material is vital for durability and efficiency. Common options include galvanized steel, stainless steel, and copper.
Galvanized steel is cost-effective and offers decent protection, but it may rust over time. Stainless steel is more durable and resistant to harsh weather, making it ideal for long-term use. Meanwhile, copper provides an aesthetic appeal and outstanding durability but at a higher cost.
Considering the climate and desired aesthetic, we should weigh the pros and cons to choose the most suitable material for our chimney cap.
Safety Measures
In this section, we will focus on the importance of proper ladder usage and positioning. Additionally, we will address key precautions needed when working at heights during the installation of a chimney cap.
Ladder Usage and Positioning
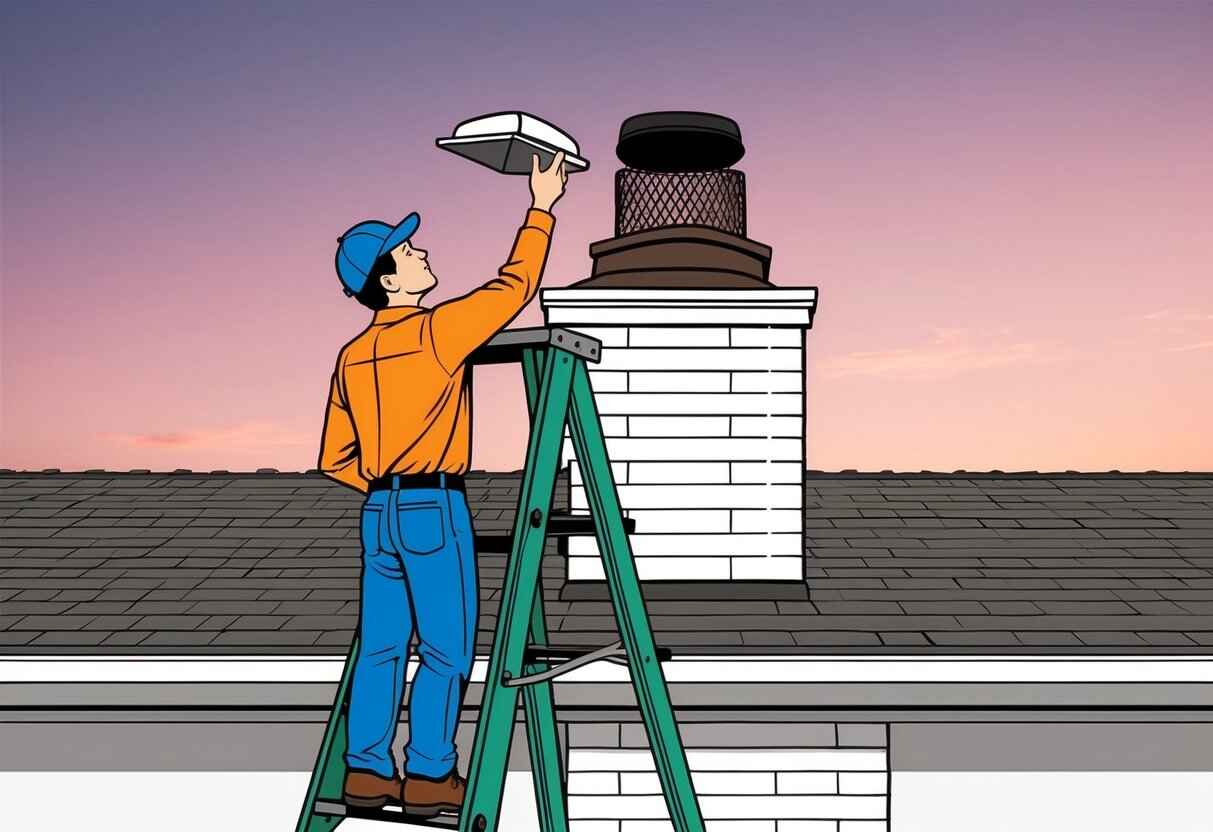
When setting up a ladder, ensuring its stability is paramount. We must place the ladder on a flat, non-slippery surface, making sure it extends at least three feet above the edge of the roof for secure stepping.
Using the 1:4 rule can help us position the ladder correctly. For every four feet of ladder height, the base should be one foot away from the structure. Always ensure the ladder is locked in position, and never lean out too far while working.
Securing the ladder is also crucial. We should tether it or use an assistant to hold it steady while we climb. Ladder safety involves wearing non-slip shoes and ascending slowly, maintaining three points of contact for balance.
Working at Heights Safely
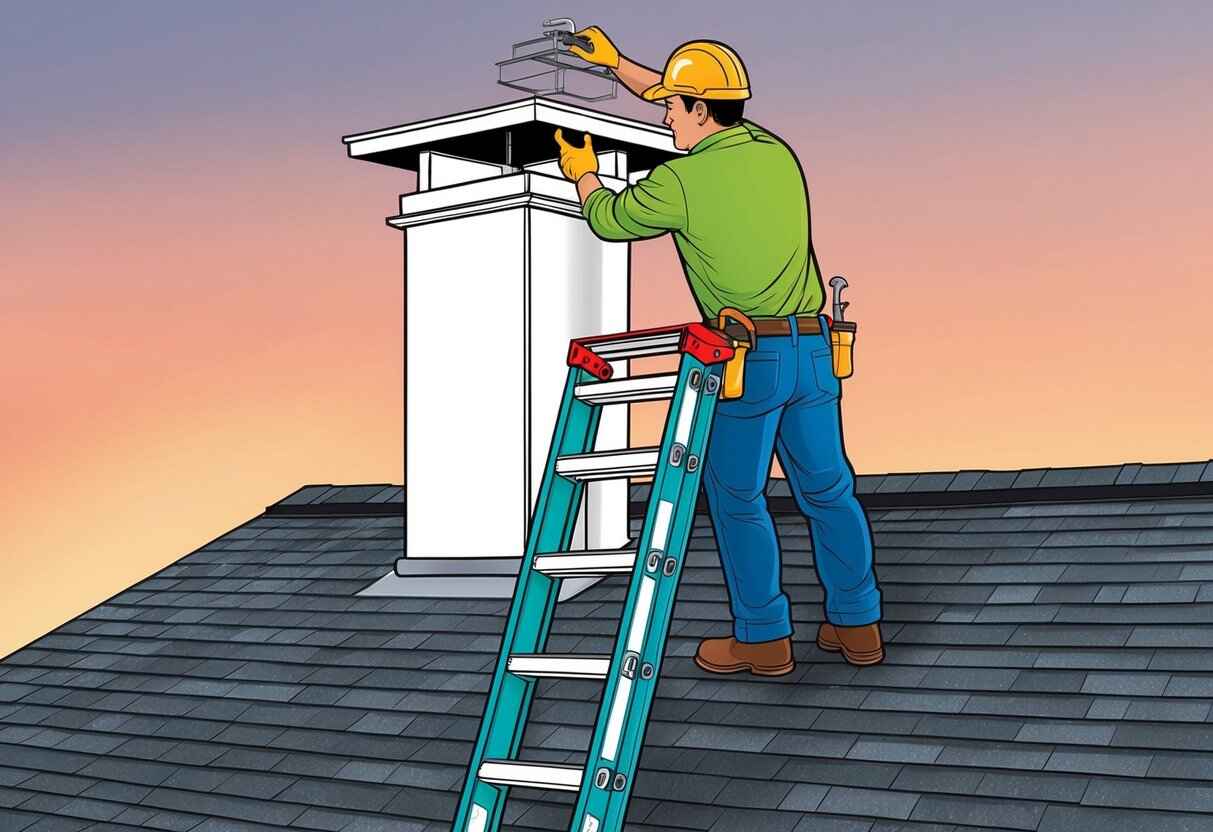
Working at heights requires thorough preparation. As we install the chimney cap, it’s necessary to wear a safety harness if the height exceeds a certain limit. Before starting, checking weather conditions ensures that we avoid working during high winds or rain.
Personal protective equipment, such as helmets and gloves, can prevent injuries. We should ensure our tools are within easy reach to minimize unnecessary movement. A tool belt can be handy for keeping everything organized and accessible.
Assessing the roof’s structural integrity is another step we shouldn’t skip. Knowing how to distribute our weight can prevent accidents. Always maintain clear communication with anyone assisting on the ground to coordinate activities efficiently.
Step-by-Step Installation Guide
Installing a chimney cap yourself is a practical way to protect your home from unwanted elements and critters. We’ll guide you through the steps of securing both single-flue and top-mount chimney caps, along with essential tips for sealing and weatherproofing.
Securing a Single-Flue Cap
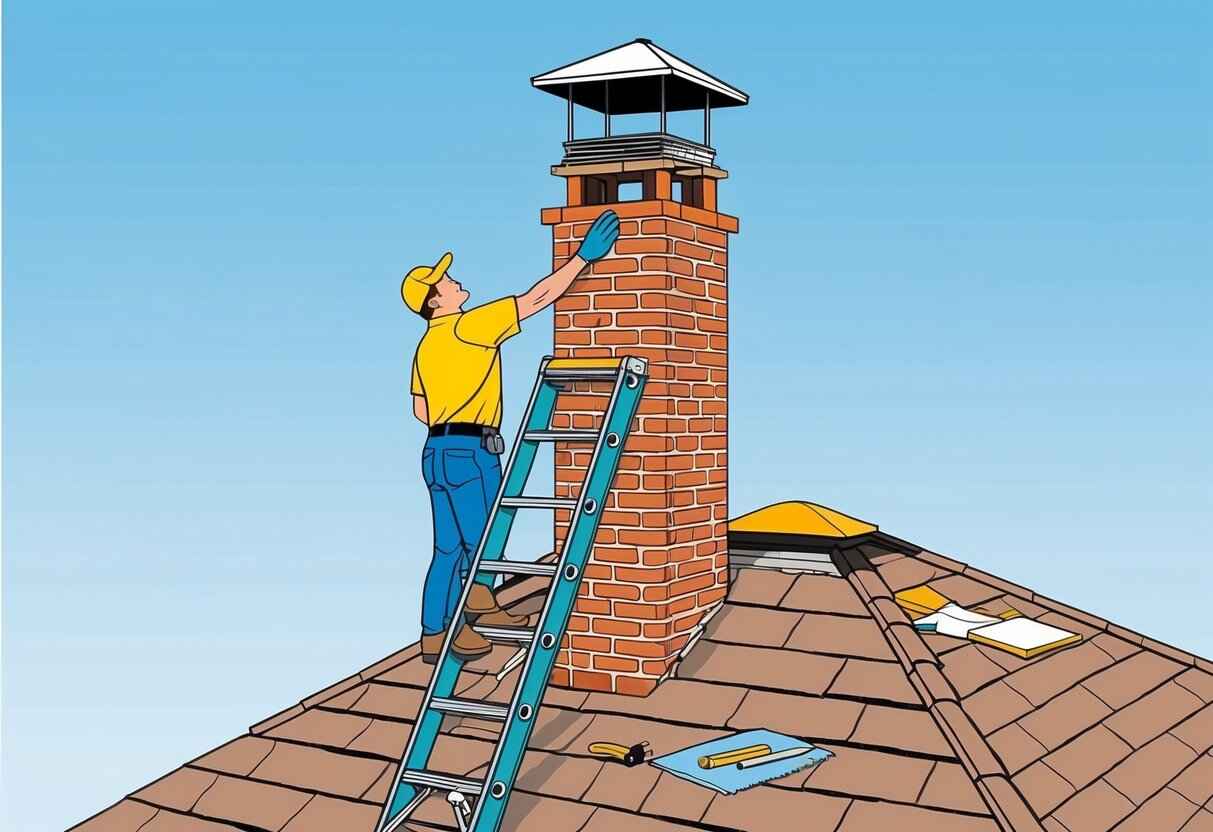
First, it’s crucial to clean the crown area thoroughly. Remove any debris with a brush to ensure a smooth installation. A clean surface helps achieve better adhesion.
Position the cap over the flue. Align it properly to ensure the mesh skirts the flue edges evenly. Use a masonry bit to drill pilot holes, which makes it easier to insert the screws.
Once the pilot holes are ready, secure the cap with masonry screws. An impact driver can help tighten the screws effectively, ensuring the cap is firmly held in place. Check that the cap remains level as you fasten the screws.
Installing a Top-Mount Chimney Cap
Before starting, remove any old chimney cap and clean the area with a stiff brush. Choose an appropriate cap to fit the top of your chimney.
For the installation, place the cap over the flue and ensure it sits level. Adjustable brackets or straps around the chimney’s outer sides can help secure the cap in position. Use a screwdriver to fasten the screws that hold these brackets, ensuring a secure fit.
Take care to evenly distribute the screws to avoid any wobbling. This ensures the stability of the cap, especially during high winds or storms.
Sealing and Weatherproofing
Applying a good sealant is key to protecting your chimney from water damage. Use a high-quality caulk around the base of the chimney cap. This adds an extra layer of waterproofing.
Ensure the sealant is applied evenly, leaving no gaps that might allow water infiltration. A thorough inspection for any potential leaks will help maintain the integrity of the seal over time.
Regular checks are essential. Keep an eye out for any signs of wear or corrosion that might compromise the weatherproofing of your chimney. A well-sealed cap extends the cap’s life and protects your home’s interior from the elements.
Post-Installation Maintenance
After installing a chimney cap, ongoing maintenance ensures it functions effectively and lasts longer. We need to focus on regular inspections to check for any blockages or damage, and understand how to resolve common issues that may occur, like rust or a loose fit.
Regular Inspection and Cleaning
Our chimney system benefits from a thorough inspection at least once or twice a year. This involves examining the chimney cap and rain cap for signs of rust, buildup, or damage. Using a chimney brush, we can clean off debris such as leaves and twigs. Checking the chimney crown is also crucial, ensuring there are no cracks that could allow water infiltration.
Regular cleaning helps prevent blockages that can impact airflow. If we notice any soot or creosote buildup, a more detailed clean might be needed. It’s important to always use appropriate safety gear during these inspections. Keeping the chimney cap and surrounding areas clear of debris enhances longevity and performance.
Troubleshooting Common Issues
Several issues can arise with a chimney cap post-installation. A common problem is the cap becoming loose due to storms or temperature changes, which can allow animals or debris to enter. We must check the tightness regularly and ensure the fixings are secure.
Rust is another issue that affects metal caps; applying a rust-resistant coating during installation can help. If rust does appear, we might need to replace the cap or seek professional advice. Keeping an eye out for gaps between the rain cap and chimney crown further prevents water or critter intrusion.
Regular troubleshooting ensures our chimney system continues to function optimally, safeguarding the home and maintaining energy efficiency.
Frequently Asked Questions
Installing a chimney cap can be a straightforward task for homeowners with the right tools and instructions. In this section, we address common questions and provide guidance on specific scenarios related to chimney cap installation.
How to properly install a chimney cap without a flue?
When installing a chimney cap without a flue, we must first ensure the cap fits securely over the chimney crown. It’s important to clean any debris from the installation site. Once clean, we align the cap and use adhesive or screws to secure it in place, ensuring it’s tightly fitted to prevent moisture entry.
What are the steps for capping a chimney permanently?
To cap a chimney permanently, we begin by clearing the chimney’s interior of debris. Next, we apply a waterproof sealant around the crown for added protection. A solid cover is then placed on top and secured with masonry screws or anchors. This method effectively seals the chimney, preventing drafts and moisture.
What is involved in replacing an existing chimney cap?
First, we need to remove the old cap, taking care not to damage the chimney structure. After cleaning the chimney crown, we select a new cap that matches the original in size and shape. Secure it with new screws or adhesive to ensure it withstands environmental elements.
Can a homeowner put a cap on a chimney without professional help?
Many homeowners can install a chimney cap without professional help by following safety guidelines and using the right tools. With proper instructions, anyone comfortable with heights and basic tool use can perform this task. It’s essential to ensure stability by securing the ladder properly and wearing proper safety gear.
How do you install a round chimney cap on a masonry chimney?
Firstly, we measure the chimney’s diameter to select the appropriate round cap. After cleaning off dirt and debris, we position the cap over the flue and secure it with straps or screws designed for masonry surfaces. It’s crucial that the cap fits snugly to prevent drafts and water ingress.
Is it common for roofers to provide chimney cap installation services?
Yes, many roofers offer chimney cap installation as part of their services. Since installing a cap involves working at heights and ensuring waterproof seals, roofers often have the relevant skills and experience. Hiring a roofer may provide peace of mind and ensure proper installation.

 We Ship Anywhere USA & Canada


