12×12 Chimney Cap: Essential Benefits and Installation Guide – Chimcare Chimney Caps
Introduction
In the realm of home maintenance, a 12×12 chimney cap is an essential component that protects a chimney from unwanted debris, rain, and pests. Without this crucial cover, elements such as rain and small animals can cause damage to a chimney, leading to costly repairs. The right chimney cap ensures not only the longevity of a chimney but also the efficiency and safety of a home’s fireplace.
Chimney caps come in various materials and sizes, but the stainless steel 12×12 option is highly popular due to its durability and rust resistance. In our experience, choosing the correct size is pivotal in maintaining the structural integrity of the chimney and preventing further issues. Accurate measurement and careful selection tailored to specific chimney needs can make all the difference in performance.
Let’s further explore the distinct advantages, installation process, and maintenance tips for using a 12×12 chimney cap. From enhancing the effectiveness of home heating to preventing fire hazards, a quality cap is a worthwhile investment for any homeowner.
Key Takeaways
- A 12x12 chimney cap shields the chimney from debris and pests.
- Selecting the right material and size ensures optimal performance.
- Proper installation and maintenance maximize safety and longevity.
Types of Chimney Caps
Chimney caps serve an essential role in protecting chimneys from water, debris, and pest entry. They vary in material, design, and purpose, offering options suitable for different climates and architectural styles.
Stainless Steel Chimney Caps
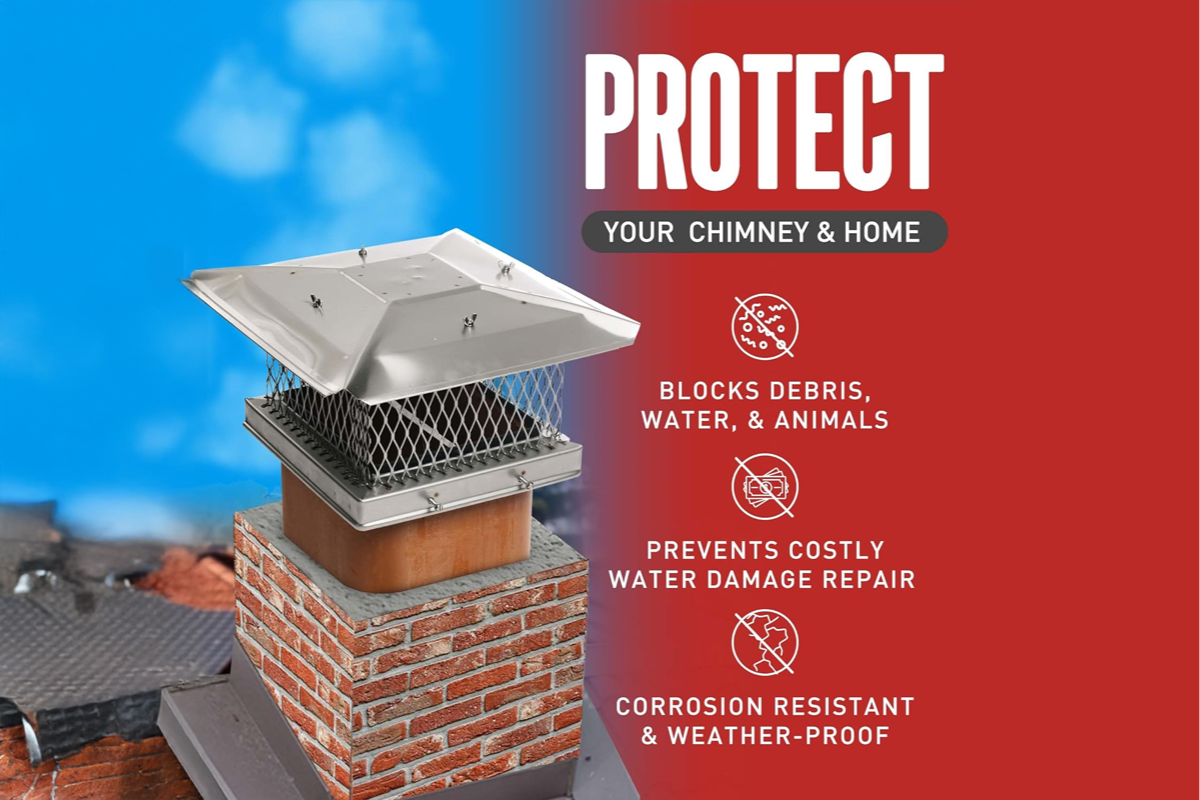
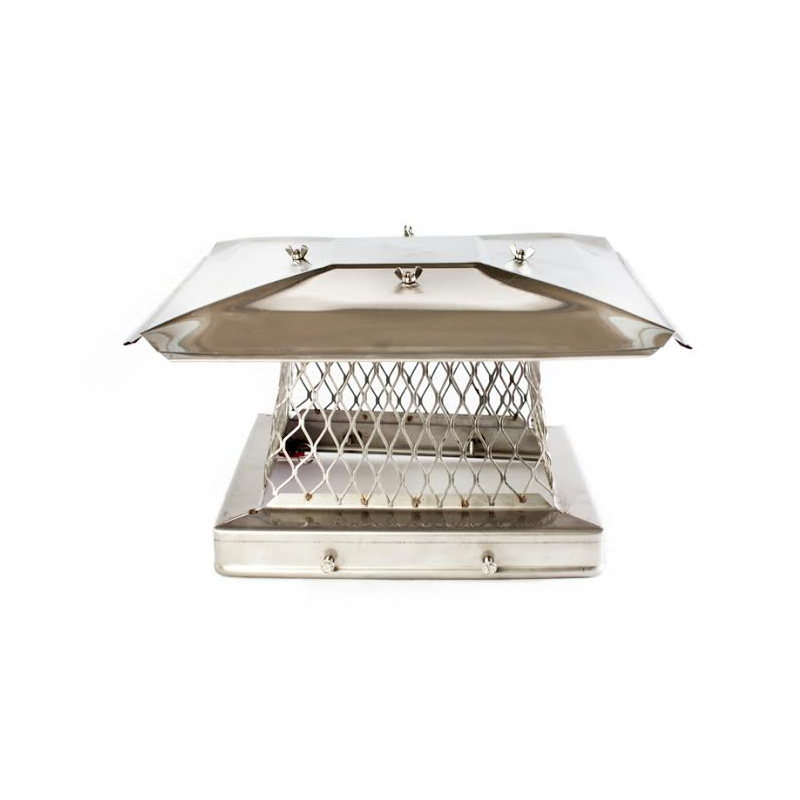
Stainless steel chimney caps are renowned for their corrosion resistance and durability. They are made from high-quality steel, making them ideal for use in various weather conditions. These caps typically feature a mesh design to keep out animals and debris while allowing smoke to escape efficiently.
We often recommend stainless steel caps for their longevity and low maintenance requirements. Installation is straightforward, and these caps fit snugly over the flue. Cleaning involves simple washing with soap and water, ensuring they remain in top condition.
Benefits of Installing a Chimney Cap
Enhancing Safety and Protection
Chimney caps are essential for safeguarding our homes from various external elements. By installing a chimney cap, we can effectively prevent debris, rain, and animals from entering our chimney flue. This can significantly reduce the risk of blockages and potential fire hazards.
Preventing Water Damage
One of the primary benefits of chimney caps is their ability to prevent water intrusion. Water is particularly harmful as it can lead to deterioration of the masonry, corrosion of metal parts, and even damage to the overall structure. Protecting our chimney from water can save us from costly repairs in the future.
Improving Energy Efficiency
A well-fitted chimney cap can aid in regulating the airflow within the chimney, which can improve the efficiency of our heating system. By preventing downdrafts, we’re able to maintain a more consistent temperature within our homes, ultimately reducing our energy consumption and heating costs.
Durability and Reduced Maintenance
With the right chimney cap, we enjoy added durability and reduced maintenance over time. Chimney caps help in minimizing the accumulation of creosote, a combustible byproduct of burning wood. By reducing its buildup, we lower the frequency of necessary cleanings and prolong the lifespan of our chimney.
Variety in Materials
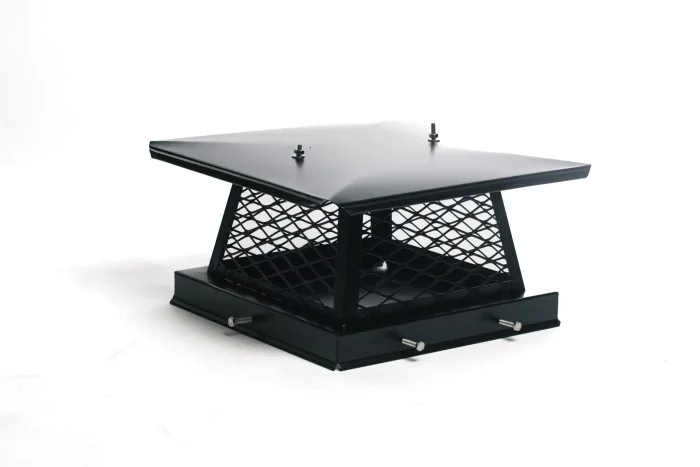
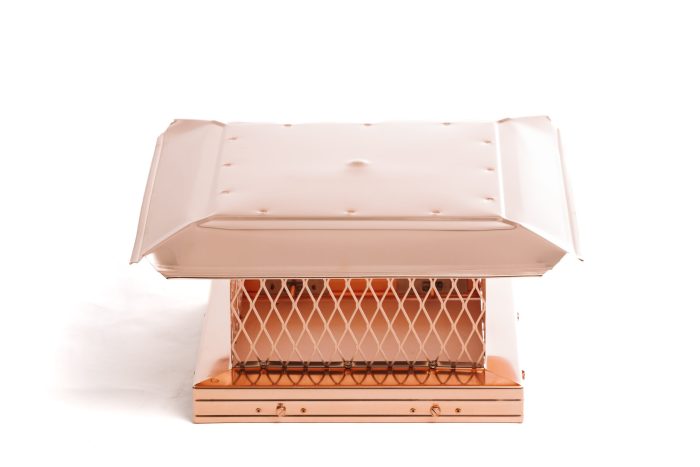
Chimney caps are available in various materials such as stainless steel, copper, and galvanized steel. Each material offers different levels of durability and aesthetic appeal, allowing us to choose one that fits our needs and style preferences. Investing in a quality chimney cap is a step towards preserving both the functionality and appearance of our chimney.
Sizing and Measurement Guidance for 12×12 Chimney Caps
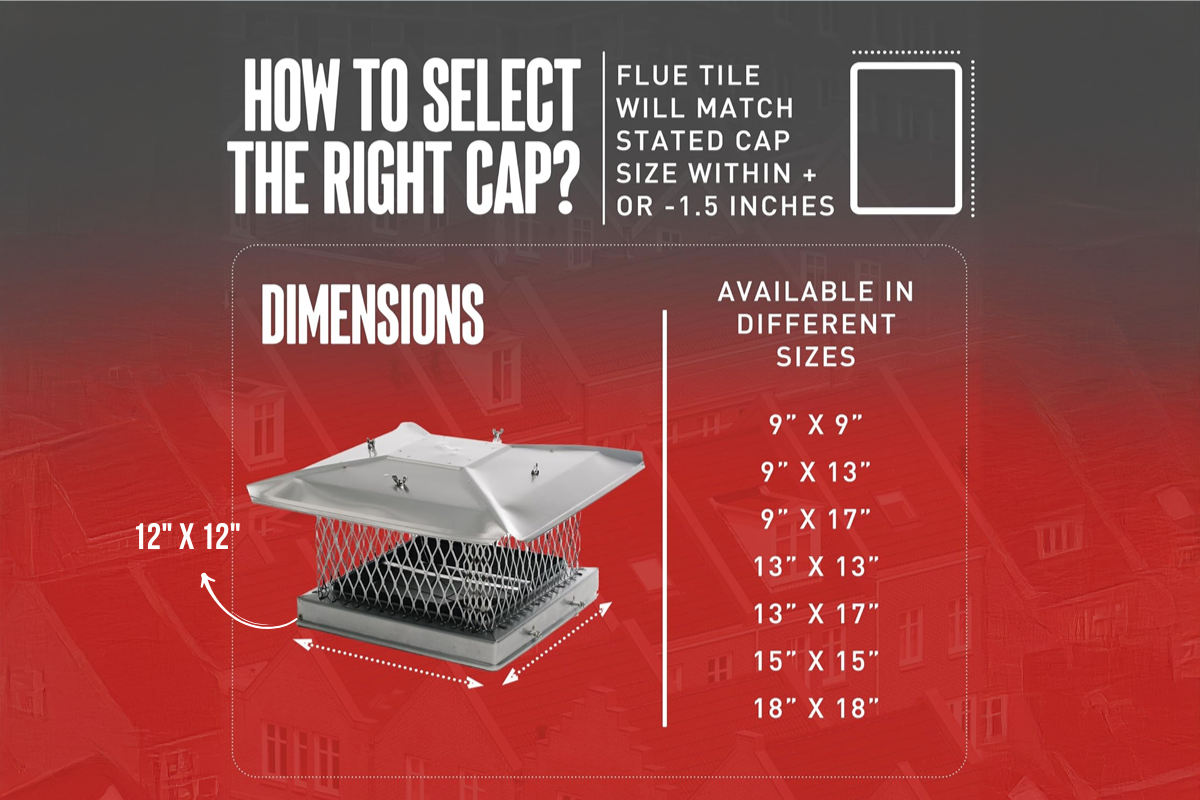
When selecting a 12×12 chimney cap, accuracy in measurement is crucial. We start by measuring the outer dimensions of the flue. This ensures that the cap will fit securely and provide adequate protection.
For a square flue with dimensions close to 12 inches by 12 inches, a 12×12 cap is typically suitable. It’s important to consider any variations in flue size due to material expansion or inconsistencies during installation.
Step-by-step measurement involves:
- Measure Flue Width and Length: Place a measuring tape across the outside edges of the flue opening.
- Check Height Requirements: Ensure the cap sits high enough to allow smoke to exit efficiently.
- Confirm Grip Method: Determine if the cap will be mounted with screws, adhesives, or a tightening mechanism for stability.
Common materials for chimney caps include stainless steel and copper. These materials are known for their durability and resistance to weather elements. This is essential in extending the lifespan of the chimney and minimizing maintenance.
It’s also beneficial to verify local building codes or HOA rules regarding chimney cap installation. Adherence to regulations ensures we avoid potential compliance issues once the cap is installed.
By following these measurement guidelines and considering material choices, we can confidently select and install a 12×12 chimney cap that fits well and functions effectively.
Installation Process
For a successful installation of a 12×12 chimney cap, it is crucial to have the right tools, follow a detailed installation guide, and adhere to essential safety precautions. Let’s look at each aspect in detail to ensure a smooth process.
Tools Needed for Installation
Installing a chimney cap requires specific tools for an efficient and secure fit. Basic tools include a ladder, gloves, a stiff-bristled brush, and a tape measure. For attachment, we need masonry screws, a drill with a masonry bit, and an impact driver.
Depending on the chimney structure, an adhesive may be necessary. Having all tools ready will streamline the installation, preventing delays and ensuring each step is executed safely and accurately.
Step-by-Step Installation Guide
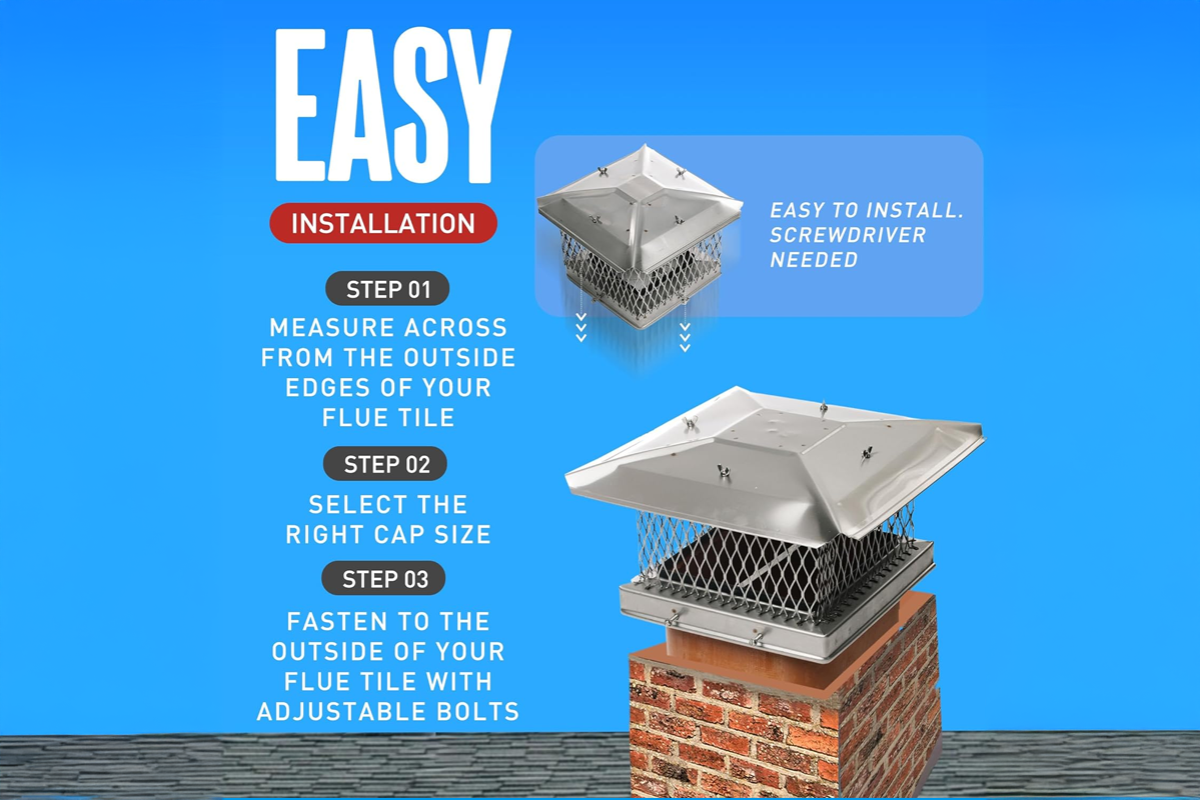
- Prepare the Area: Begin by securing the ladder on firm ground. Remove old caps if present and clean the chimney crown with a brush to remove dirt and debris.
- Measure and Position: Confirm measurements to ensure the cap fits the 12×12 flue. Position the cap so the mesh hangs evenly over the edges.
- Secure the Cap: Use masonry screws and a drill to firmly attach the cap. Align the screws with any pre-drilled holes, ensuring stability. When necessary, apply adhesive along the perimeter to prevent dislodgment by strong winds.
Safety Tips During Installation
Check Weather Conditions: Installation should be done on a clear, calm day to avoid accidents caused by slippery or unstable weather conditions. Climbing onto a roof under unfavorable weather poses significant risks.
Use Protective Gear: Ensure stable footing with proper footwear and use gloves to protect against sharp edges and debris. Have a second person to assist or supervise, providing an extra layer of security.
Ladder Safety: Double-check that the ladder is stable and placed on non-slippery surfaces. Engage the lock mechanism to prevent wobbling or slipping during use.
Prioritizing these steps ensures a safe and efficient installation of your 12x12 chimney cap.
Maintenance and Care
Keeping a chimney cap in good condition requires consistent effort in cleaning, regular inspections, and addressing any issues promptly. This ensures safety, efficiency, and longevity.
Regular Cleaning Tips
To maintain efficient chimney performance, we should clean the chimney cap regularly. Soot and debris can quickly accumulate, especially in periods of frequent use.
Using a soft-bristled brush or a vacuum, we can gently remove the buildup on and around the cap. It’s essential to wear appropriate safety gear, such as gloves and goggles, to protect ourselves during this process.
For more intensive cleaning, especially after a prolonged period of use, mild soapy water can be effective. Rinsing thoroughly and drying the cap afterward prevents rust or corrosion. Regular cleaning helps us safeguard our homes from potential chimney fires and blockages.
Inspection Checklist
Routine inspections are crucial for spotting early signs of wear or damage. We should start by examining the cap for any signs of rust, corrosion, or physical damage, such as bends or cracks.
Next, checking the secure fit of the cap to ensure the mounting hardware is in place is important. If it’s loose or unstable, it might need tightening or replacement.
Inspecting for animal nests or excessive buildup around the mesh can prevent critters from entering and block harmful debris. If we notice any unusual wear or issues, scheduling a professional inspection might be necessary for a more comprehensive assessment and repair suggestions.
Common Issues and Solutions
Several common issues can affect chimney caps, and addressing them promptly is key to maintaining functionality. Rust is frequent, especially on older metal caps. Applying a rust-resistant finish can extend its life.
Wind damage could loosen or dislodge the cap, leaving our chimney vulnerable. Ensuring the cap is secured with appropriate mounting hardware can mitigate this issue.
Water leaks around the cap can lead to structural damage. Checking for gaps or cracks in the sealant and reapplying as necessary can help maintain a weatherproof barrier. Identifying and solving these problems swiftly helps preserve the efficiency and safety of our chimney systems.
Frequently Asked Questions
In addressing key inquiries about 12×12 chimney caps, we focus on the installation process, accurate measurement, and the benefits of capping unused chimneys. We also explore customization, standard sizing, and differences between chimney covers and caps, as well as sourcing high-quality options.
What are the steps for installing a chimney cap?
We need to start by gathering necessary tools such as a screwdriver, ladder, and work gloves. Next, secure the ladder and climb carefully to the chimney. Place the cap over the flue and use screws or mounting hardware to attach it securely, ensuring a snug fit.
How does one accurately measure a chimney for a new cap?
To measure accurately, we must first determine the length and width of the chimney flue. With a tape measure, record these dimensions from the inside edges. Accounts for any lip or edge that might require a slightly larger cap size to ensure proper fit and protection.
What are the advantages of capping an unused chimney?
One key advantage is that capping prevents debris, animals, and moisture from entering the chimney. This helps to avoid blockages and potential damage. Additionally, a cap aids in energy efficiency by reducing drafts and heat loss through the chimney.
Can chimney caps be custom-sized or are there standard sizes available?
Chimney caps are available in both standard sizes and custom options. Standard sizes, like the 12×12, meet the needs of common flue dimensions. However, some situations require custom sizing to accommodate unique chimney specifications or flue arrangements, ensuring optimal coverage and security.
What are the key differences between a chimney cover and a cap?
The primary difference lies in their design and purpose. A chimney cap typically sits atop the flue, providing weather protection and draft control. In contrast, a chimney cover encloses the entire chimney, offering broader protection against elements and often enhancing aesthetic appeal.
Where can I find a high-quality chimney cap for purchase?
High-quality chimney caps can be purchased from home improvement stores, specialized fireplace shops, or online retailers. It’s important to consider reliable brands and verify the materials, such as stainless steel or copper, which offer durability and resistance to harsh weather conditions.

 We Ship Anywhere USA & Canada


