How Are Chimney Caps Attached Installation Methods Explained – Chimcare Chimney Caps
Introduction
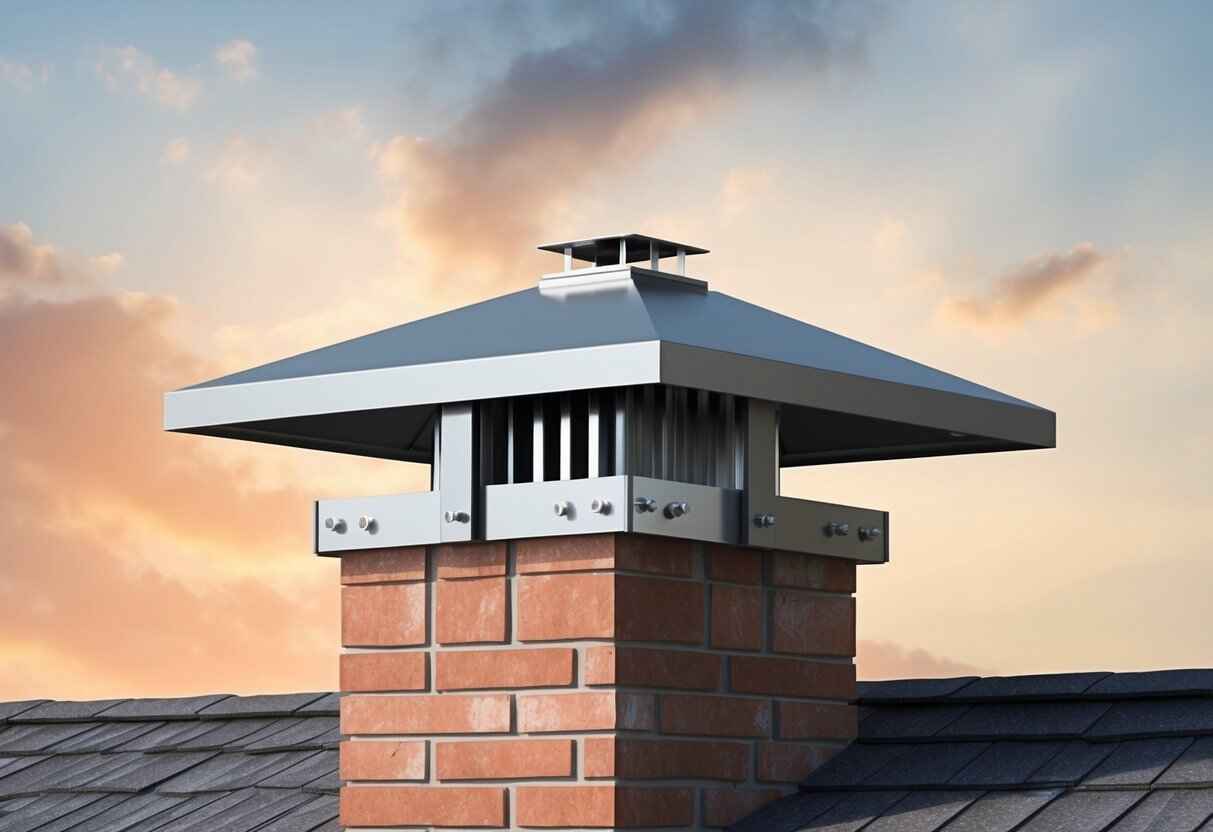
The way chimney caps are attached plays a crucial role in protecting your home from unwanted elements and critters. Chimney caps are typically secured using screws or bolts that attach them to the crown or flue of the chimney, ensuring a stable and firm fit. Proper installation is essential for the cap to function effectively, preventing downdrafts and blocking rain from entering the chimney.
Installing a chimney cap might seem straightforward, but it requires attention to detail to ensure optimal performance. From using the right materials to employing correct techniques, there are several steps involved. We must also consider the different types of chimney caps, such as single-flue or multi-flue caps, each serving specific chimneys and needing unique installation methods.
By understanding the tools and precautions involved, we can ensure the chimney cap remains secure and durable. Ensuring a proper fit not only protects the chimney but also extends its lifespan. In this post, we’ll explore how to install a chimney cap effectively, ensuring you have the information needed for a successful and long-lasting installation.
Key Takeaways
- Chimney caps are secured using screws or bolts.
- Different types of caps require specific installation methods.
- Proper installation ensures protection and extends chimney life.
Understanding Chimney Caps
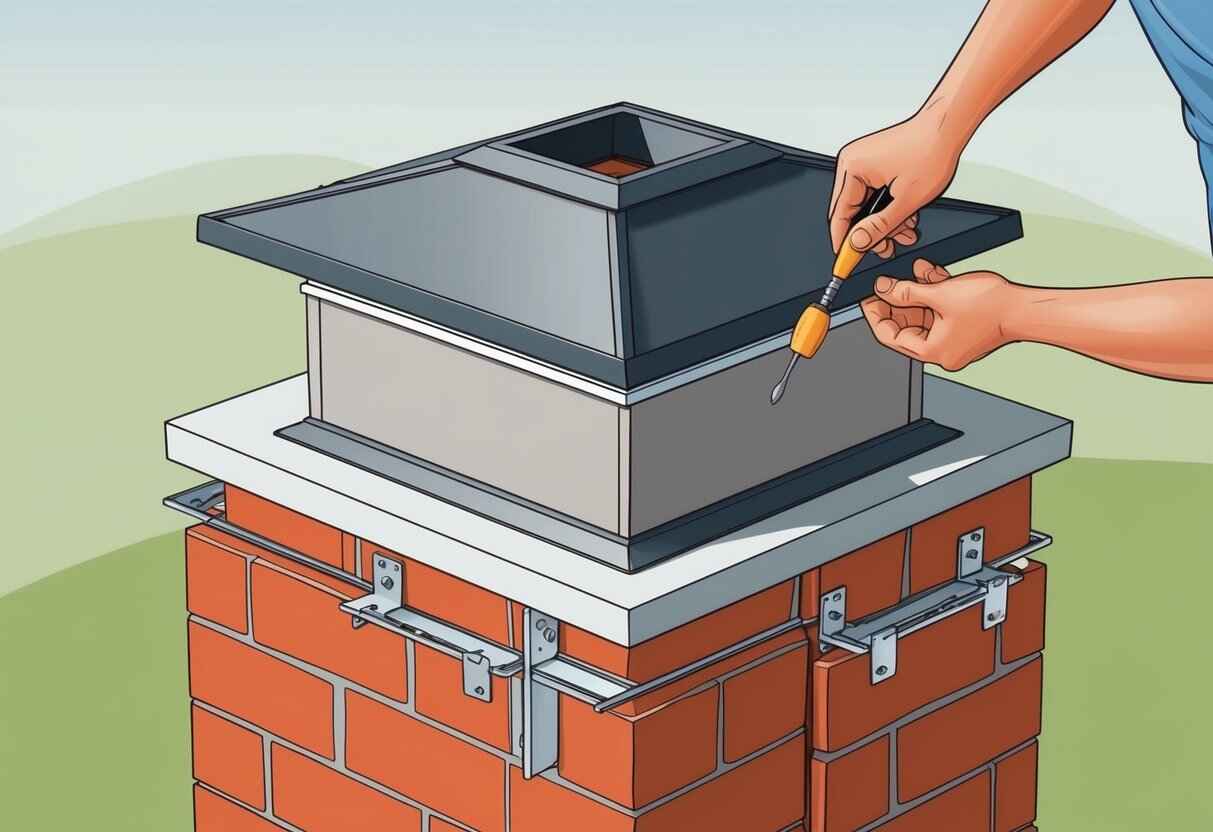
Chimney caps are essential components for protecting and maintaining the functionality of our chimney systems. They prevent unwanted elements like rain, debris, and animals from entering the home, while also assisting with airflow management.
Types of Chimney Caps
There are several types of chimney caps available to suit different needs and chimney styles. Single-flue chimney caps are designed to cover individual flues, offering targeted protection. Multi-flue chimney caps cover multiple flues simultaneously, ideal for complex chimney systems.
Materials used in constructing chimney caps vary. Galvanized steel caps are affordable and offer basic protection, though they may rust over time. Copper chimney caps are durable and rust-resistant, providing a longer lifespan with an aesthetically pleasing appearance. Additionally, round flue caps are designed specifically for round flues, ensuring a snug fit.
Functions of Chimney Caps
Chimney caps serve multiple crucial functions. Primarily, they act as barriers against rain and snow, protecting the chimney’s interior from moisture that can damage masonry and lead to costly repairs.
Furthermore, they prevent animals such as squirrels and birds from nesting within the chimney, reducing the risk of blockages. Chimney caps also help prevent downdrafts by deflecting wind, which can bring smoke back into the home. In addition, they aid in preventing sparks from escaping the chimney, reducing fire hazards.
Overall, chimney caps are an essential investment for enhancing the safety and longevity of our chimney systems.
Tools and Materials for Installation
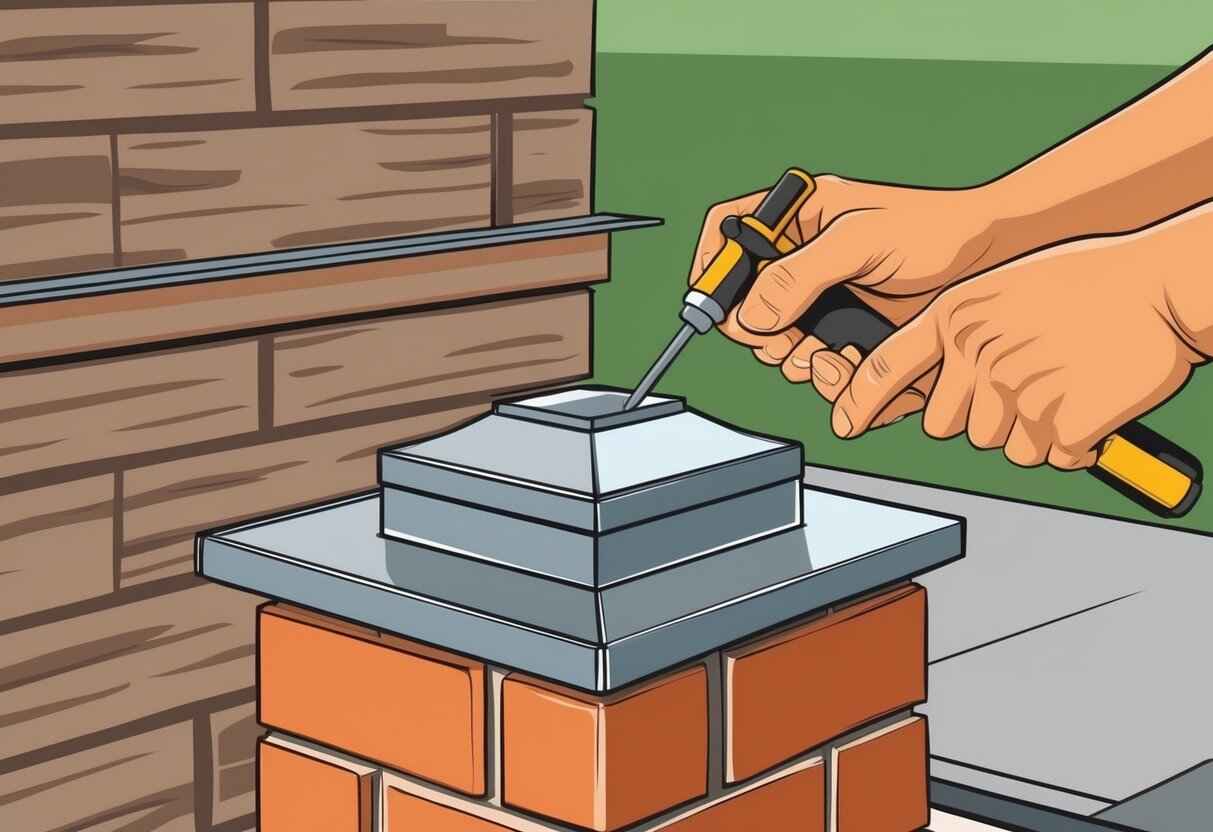
When installing a chimney cap, selecting the right tools and using quality materials is crucial. Ensuring our equipment is suitable for the task and that the materials meet our needs will increase the effectiveness and longevity of the installation.
Selecting the Right Tools
Choosing the correct tools makes the process efficient and safe. We’ll need a power drill with a masonry bit. This drill facilitates installing anchors in the chimney crown securely. Using masonry screws ensures the chimney cap remains firmly attached.
A caulk gun is necessary to apply construction adhesive around the cap’s base, sealing it against the elements. For personal safety, it’s wise to use a safety harness when working at heights. Having the right tools on hand prepares us for a smooth installation process.
Choosing Quality Materials
The materials we select for installing a chimney cap must withstand varying weather conditions to ensure durability. Opt for chimney caps made from robust materials like stainless steel, galvanized steel, or copper. These materials resist rust, ensuring long-lasting protection for our chimney.
Construction adhesive should be water-resistant and able to hold up against temperature fluctuations. Using high-quality masonry screws is essential, as they provide stability and hold the cap securely. Investing in reliable materials guarantees that our chimney cap functions effectively and stands the test of time.
The Installation Process
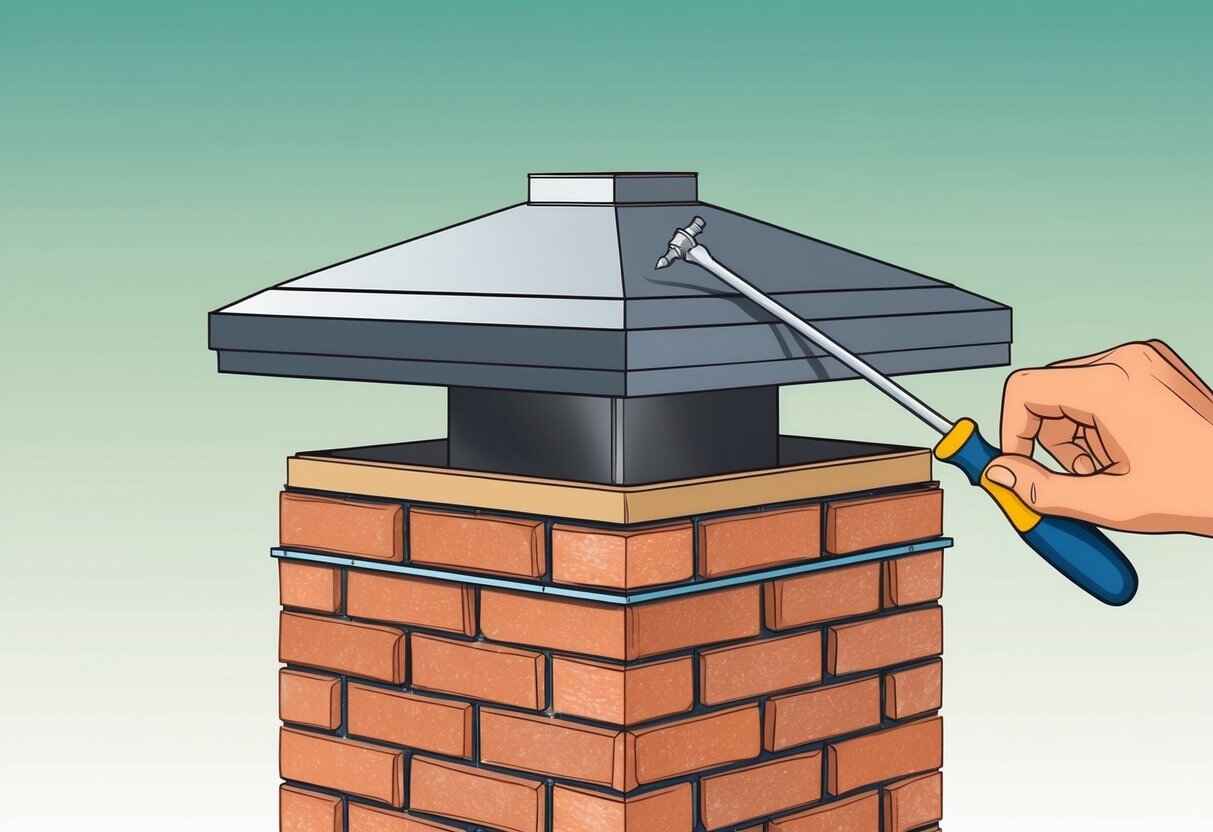
Installing a chimney cap involves careful preparation and specific steps to ensure a secure fit. Good preparation is vital to preventing future issues like leaks or rattles.
Preparing for Installation
Before we start the installation, it’s essential to clean the chimney crown thoroughly. Removing debris and dirt from the area ensures a smooth installation and helps to provide a tighter seal. Using a stiff-bristled or chimney brush can be effective for this task.
Next, let’s gather the necessary tools and materials. This typically includes a ladder, adhesive (if applicable), a drill or impact driver, and appropriate screws. We should inspect the chimney to verify measurements and make sure all materials are ready. Safety precautions, like securing the ladder and wearing appropriate gear, must be taken seriously.
Step-by-Step Installation Guide
The first step is to position the chimney cap over the flue. Check to ensure that it aligns properly. If the cap design requires it, we need to apply a line of adhesive around its base. This can help with stability.
Creating pilot holes is crucial if we’re using screws that need guiding. Self-tapping screws often help avoid the need for extensive pilot holes, but checking the specifications of the cap is important.
Next, using a drill or impact driver, drive masonry screws into the pilot holes to securely attach the cap. We’ll double-check everything to ensure the cap is level and fits snugly. Checking for alignment and security will help prevent wind or corrosion issues later.
Securing Chimney Caps
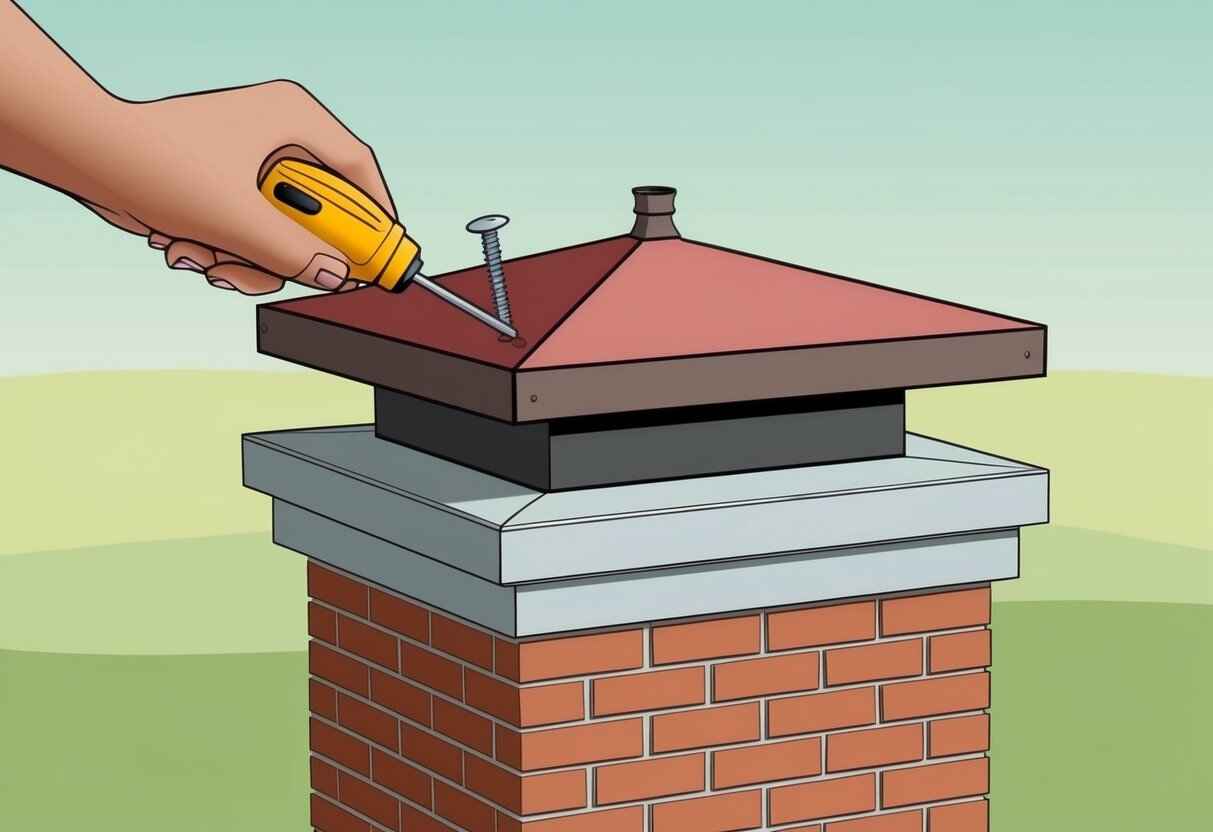
When attaching a chimney cap, it’s crucial to ensure the stability and longevity of the installation. Various techniques exist for securing different types of caps to the chimney, and achieving a secure fit depends on using the correct methods and tools.
Attachment Techniques
Attaching a chimney cap requires the use of proper tools and equipment to ensure it withstands weather elements. Single-flue caps are typically attached using screws or clamps that grip the flue tile securely. For a multi-flue cap, we use support brackets that span across multiple flues, attaching directly to the crown.
Top-mount chimney caps are affixed to the chimney using adhesive and screws, providing extra stability. Round chimney caps require a band that tightens around the flue, while the band-around-brick chimney cap uses a similar approach, wrapping around the brickwork of the chimney. Each method involves securing either through direct screwing into the structure or clamping around the existing brick or flue.
Ensuring a Secure Fit
To ensure our chimney cap is firmly secured, we should start by cleaning the surface of any debris, as this can impact the adhesion and fit. Using an impact driver to insert masonry screws in pre-drilled holes offers a strong hold. Testing the stability is essential; we give the cap gentle pushes to confirm it doesn’t shift.
We need to align the cap correctly over the flue tile to enhance protection against downdrafts and rain. For top-mount caps, applying adhesive evenly around the edge enhances grip. Constant monitoring and regular checks for wear or looseness can prevent premature issues, keeping our chimney functional and secure.
Maintenance and Replacement
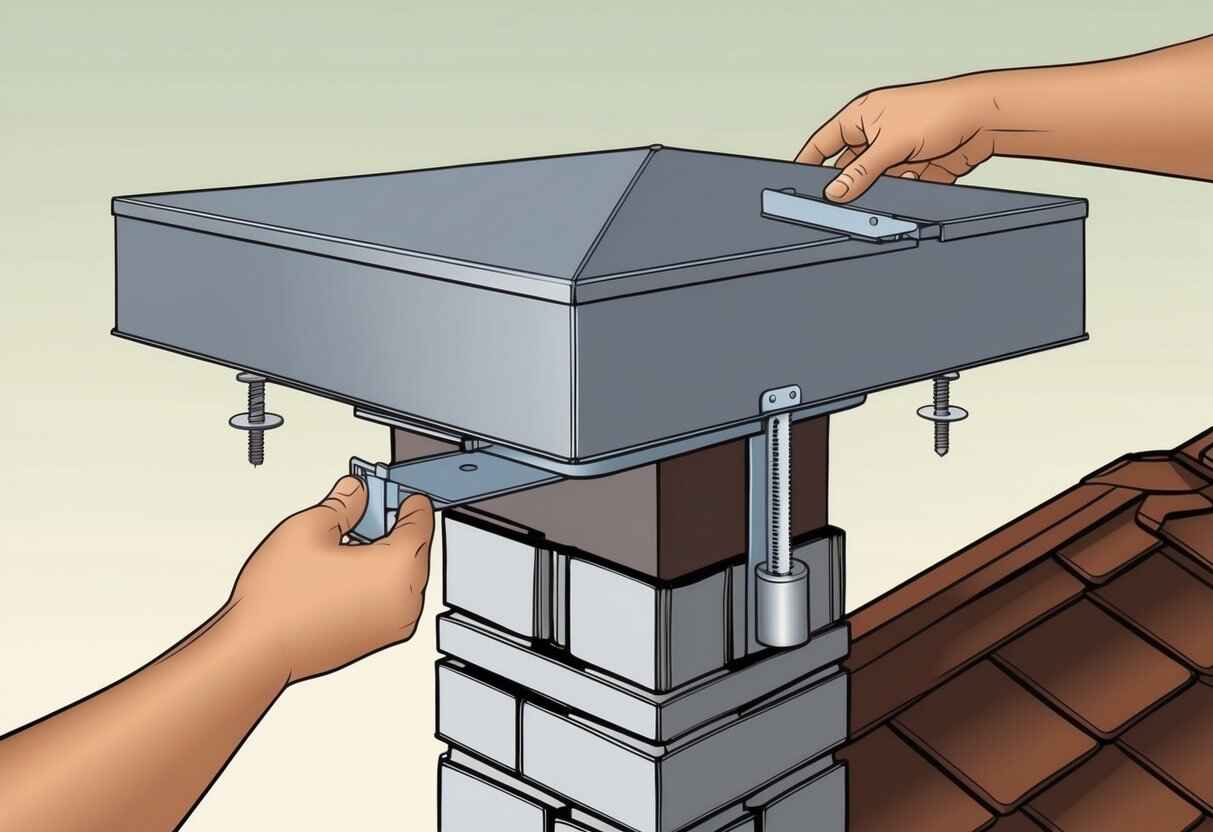
Maintaining chimney caps is crucial for preserving their integrity and preventing potential hazards. Replacement becomes necessary when caps are malfunctioning or severely damaged, ensuring continued protection for our chimney system.
Regular Chimney Cap Checks
Regular checks are necessary to maintain the safety and efficiency of our chimney. Chimney sweeps are professionals who provide thorough inspections, identifying wear or damage that could compromise performance.
We should use a chimney brush to clean any debris or build-up on the cap and inspect for rust or other wear. If our chimney has a clay flue, attention should be paid to inspect for cracks that could affect the cap’s fit.
Checking the seal between the cap and the chimney crown helps in guaranteeing that there are no leaks, keeping rain and animals out of the chimney system. Performing these checks regularly not only keeps our chimney functioning well but also prolongs the life of the chimney cap itself.
Replacing Worn Chimney Caps
Signs that a cap needs replacement include rust, visible damage, or persistent leaks. When performing a chimney cap replacement, we need to ensure the new cap fits securely over the chimney flue.
Replacement is straightforward when using caps that fasten onto the chimney crown with screws or construction adhesive. If we’re unsure about installation, consulting with skilled chimney sweeps is advisable, as they have the knowledge to select and install the cap correctly.
Regular inspection and prompt replacement of damaged caps prevent more severe issues, maintaining the integrity and safety of our chimney system. This preventive measure ensures that our home remains protected from weather elements and pests.
Frequently Asked Questions
When installing chimney caps, aspects such as method of attachment, materials, and the choice between DIY versus professional installation are key considerations. Our insights help navigate these options to ensure a secure and durable fit.
How can a chimney cap be installed on a brick chimney?
Attaching a chimney cap to a brick chimney typically involves using screws or adhesive. It’s important to secure the cap to the chimney crown or the flue liner. We recommend ensuring the cap is level and tight, providing stability against strong winds and other weather conditions.
What methods are used to secure a chimney cap in place?
Chimney caps can be fixed using brackets, screws, or clamps, depending on the cap design and chimney structure. These methods ensure the cap remains securely attached, minimizing the risk of displacement from wind or animal activity. The choice of method depends on the specific chimney and cap configuration.
Is professional installation necessary for fitting a chimney cap, or can it be a DIY project?
While professional installation guarantees expertise and proper equipment use, installing a chimney cap can be a DIY project if one has the right tools and instructions. Careful attention to detail is crucial to ensure a proper fit and secure attachment. We suggest assessing skill level and defining the complexity of installation before deciding.
What are the estimated costs associated with installing a new chimney cap?
The cost of installing a chimney cap varies based on materials, size, and labor. DIY installations can save on labor costs, with expenses mainly for the cap itself. Professional installation adds labor fees but might provide better fitting and warranty options. It’s beneficial to compare costs and benefits for an informed decision.
Can a chimney cap be effectively sealed and secured without a flue?
Yes, a chimney cap can be mounted without a flue. In such cases, the cap is secured to the chimney crown using appropriate methods like clamps or adhesives. Adjusting the installation method ensures the cap is stable, even without the support of a flue liner.
Are there specific materials recommended for chimney caps when considering durability and security?
Stainless steel and copper are popular for chimney caps due to their durability and resistance to harsh weather conditions. They provide long-lasting protection and are often preferred for their aesthetic appeal. Evaluating the environment and specific needs will determine the best material choice for enduring performance.

 We Ship Anywhere USA & Canada

