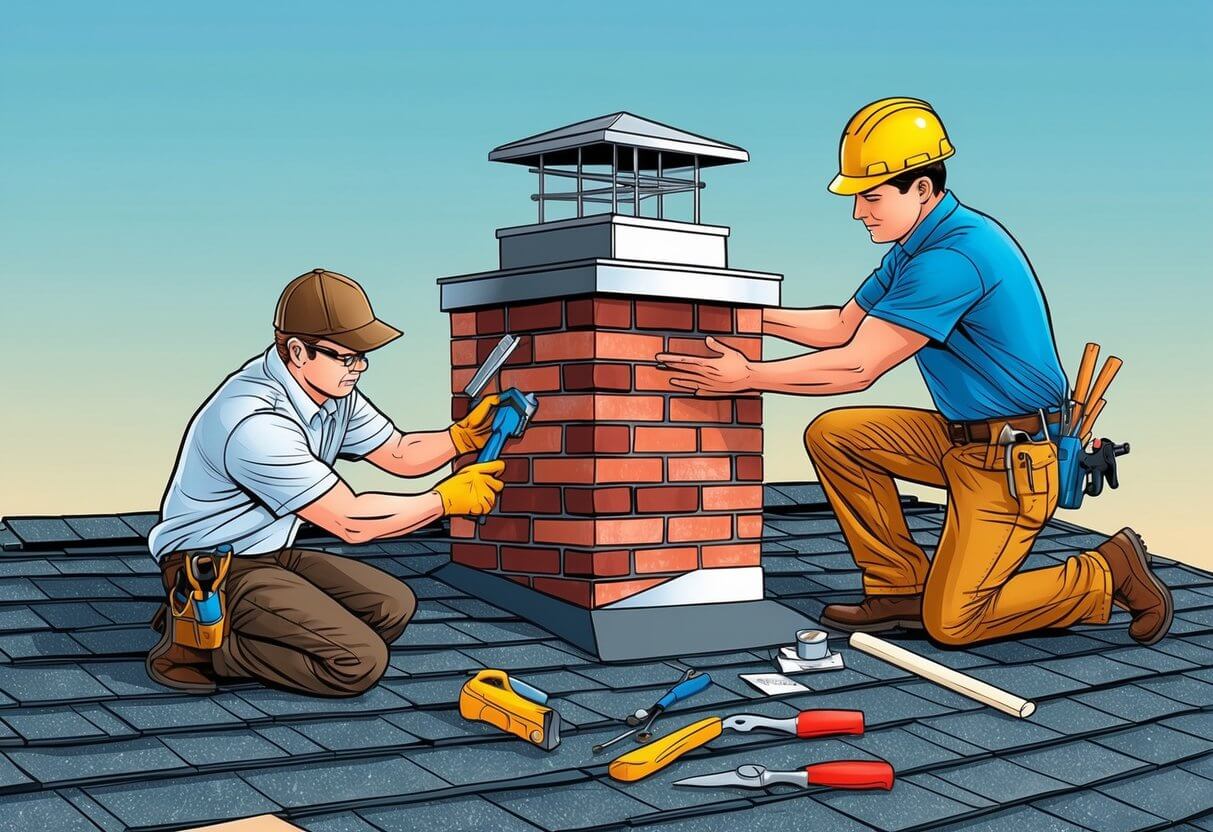
Chimney Cap Install: Essential Steps for Proper Protection
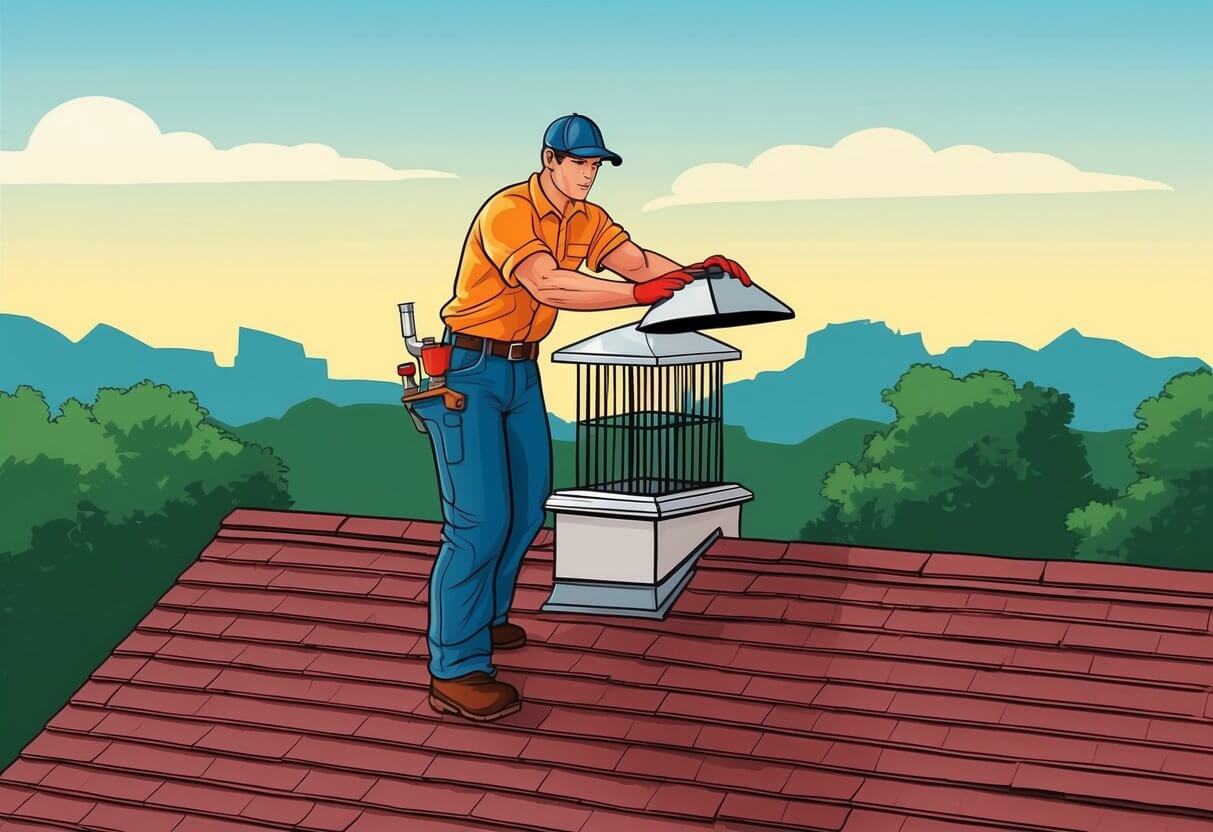
Introduction
Installing a chimney cap is a crucial step in maintaining the safety and efficiency of our home. A properly installed chimney cap protects against water damage, animals, and debris while enhancing ventilation. Whether we are looking to tackle this task ourselves or considering hiring a professional, understanding the installation process can significantly benefit us.
We want our chimneys to function optimally, as they play a vital role in ensuring that smoke exits our homes properly. Selecting the right chimney cap can make a considerable difference in how well our chimney performs. By following the necessary steps and prioritizing safety, we can confidently approach the installation process with ease.
With the right guidance and a clear plan, we can enjoy the benefits of a well-installed chimney cap. This not only extends the lifespan of our chimney but also contributes to the overall safety and efficiency of our home environment.
Key Takeaways
- Understanding chimney caps is essential for proper home maintenance.
- Selecting the right cap enhances safety and efficiency.
- Following proper installation steps ensures long-term functionality.
Understanding Chimney Caps
Chimney caps play a crucial role in protecting the chimney and enhancing its efficiency. They prevent unwanted elements from entering while allowing for proper venting of gases and smoke. Here, we will explore their purpose and the types available.
Purpose and Importance
Chimney caps serve multiple essential functions. First, they prevent downdrafts, which can bring cold air or smoke back into the home. This helps to maintain a better indoor environment while ensuring that smoke and harmful gases are properly vented outside.
Additionally, chimney caps protect against water intrusion. Without a cap, rain can enter the chimney flue, leading to water damage and potential structural issues. Caps are designed with mesh screens to keep animals, such as squirrels and birds, from entering the chimney. This prevents blockages that can cause dangerous situations, including chimney fires due to creosote build-up.
Different Types of Chimney Caps
There are various types of chimney caps designed to fit specific needs. One common option is the single-flue chimney cap. This cap covers one flue and is suitable for structures with a single chimney.
For homes with multiple flues, a multi-flue cap is ideal as it can accommodate several chimney openings.
We also find different shapes of caps. Round chimney caps are popular for their aesthetic appeal and functionality. They effectively shield the flue while allowing smoke to escape.
Chimney caps typically use materials like stainless steel, copper, or galvanized metal to ensure durability. Each type has its unique advantages, so choosing the right one can enhance the longevity and safety of our chimney system.
Choosing the Right Chimney Cap
When selecting a chimney cap, we need to consider several factors such as materials, proper sizing, and aesthetic preferences. Each element contributes to the cap’s effectiveness and longevity, ensuring our chimney remains protected.
Material Selection
Choosing the right material for our chimney cap is crucial for durability and performance. Common options include:
- Stainless Steel: Highly resistant to rust and corrosion, making it an ideal choice for longevity.
- Galvanized Steel: Generally less expensive but may not last as long as stainless steel. It’s best suited for areas with less severe weather conditions.
- Copper: Offers an elegant appearance and excellent durability but comes at a higher price point. Over time, copper develops a patina, adding character.
We must evaluate our climate and budget to make an informed choice about the material.
Sizing and Measurements
Proper sizing is vital for the effectiveness of our chimney cap. An ill-fitting cap may not serve its purpose properly. To measure accurately, we should:
- Use a measuring tape to find the width and height of our chimney’s flue opening.
- Consider that for a round flue, a single-flue cap designed to fit the specific diameter is ideal.
Chimney caps are available in various sizes. We must ensure that the cap we choose matches these dimensions closely for optimal performance and protection.
Styles and Aesthetics
A chimney cap is not just functional; it’s also a visual element of our home. Various styles are available, allowing us to select one that complements our house design. Some common styles include:
- Traditional: Often crafted with classic designs that merge well with older homes.
- Contemporary: Features sleek, modern lines suitable for newer architecture.
When choosing, we should also consider colors and finishes. Stainless steel has a polished silver look, while painted options might match our home exterior. Aesthetic reputation is important, but functionality should not be compromised.
Chimney Cap Installation Steps
Installing a chimney cap is essential for protecting our chimney from debris and preventing downdrafts. Proper preparation and secure placement are key to ensuring a long-lasting installation.
Preparing for Installation
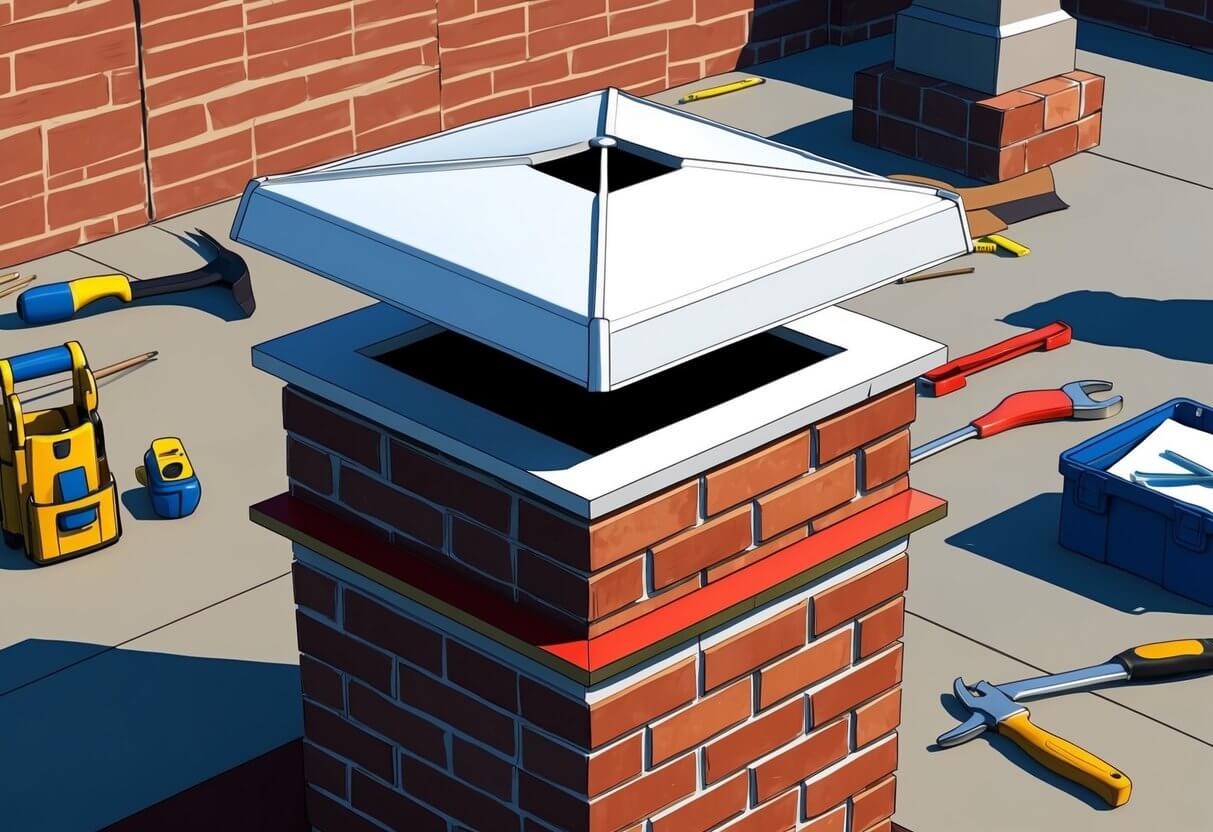
Before we begin, it’s crucial to gather the necessary tools and materials. We need a chimney cap, masonry screws, a power drill, and a masonry bit.
First, we need to measure the inner opening of the chimney flue. This ensures that we select the correct size cap, typically ranging from 9 inches square to 21 inches by 21 inches.
Next, we should remove any debris from the chimney crown using a stiff-bristled brush. This ensures a clean surface, allowing for better adhesion when we apply the caulk and secure the cap.
A line of caulk around the chimney crown helps to seal edges. A wavy line about 1 inch wide is effective. Once this is done, we can position the cap correctly on top.
Securing the Chimney Cap
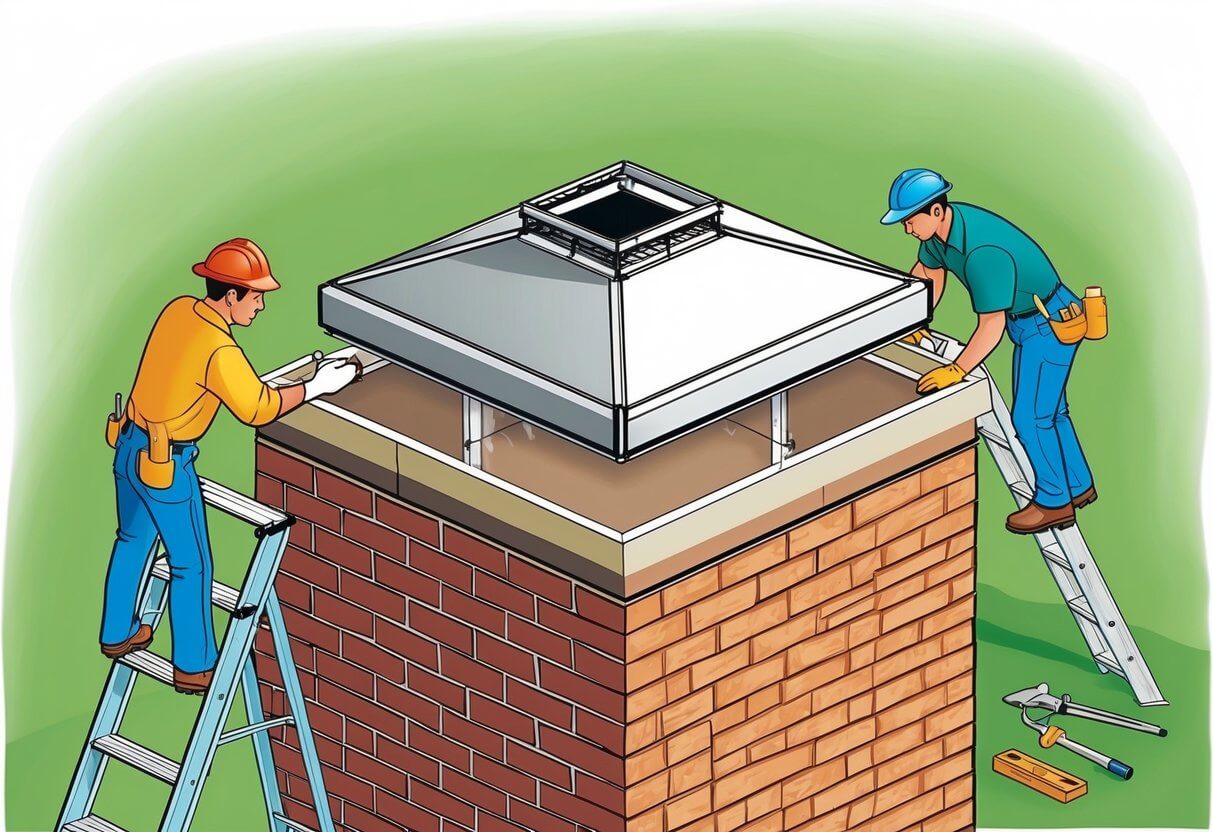
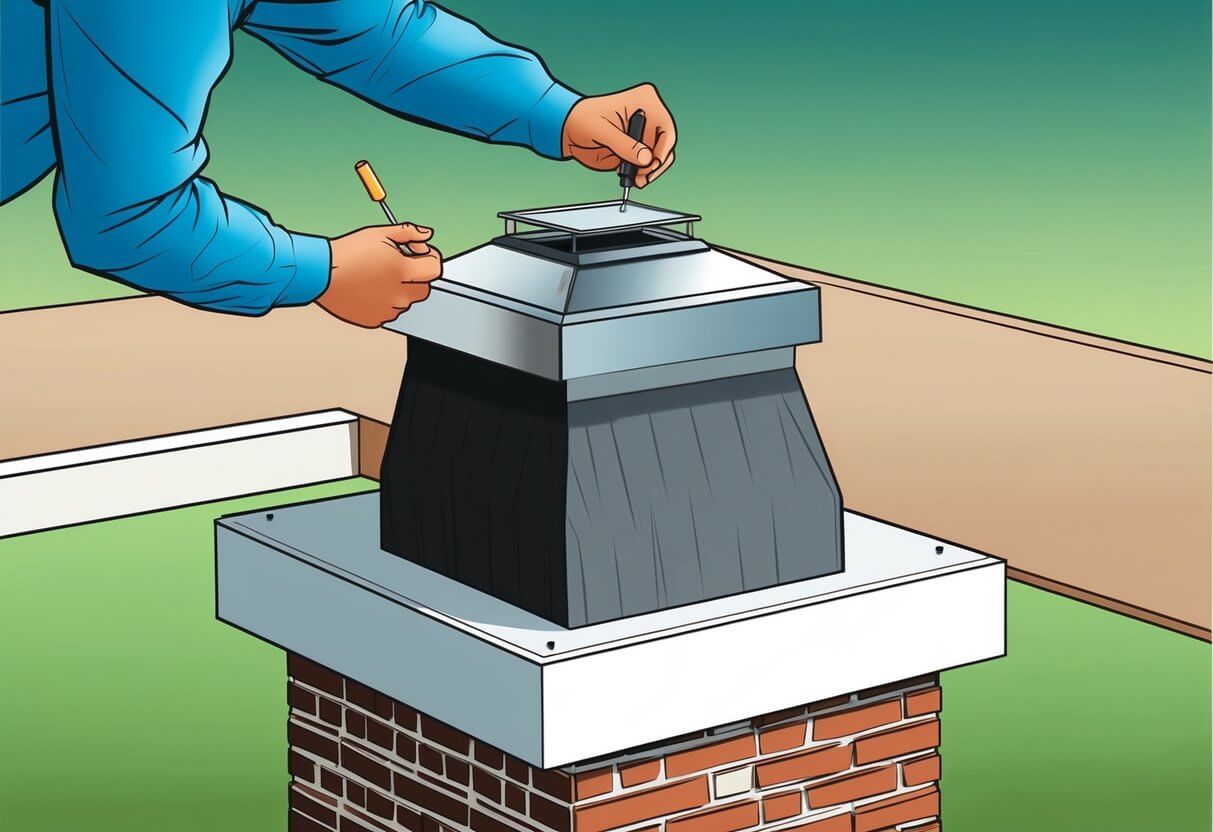
With the cap in place, it’s time to secure it. We should ensure that it fits snugly over the flue. For a top-mount chimney cap, we will use self-tapping screws or masonry screws. Drill pilot holes for these screws to help with accurate placement.
If our cap comes with wing nuts, we need to ensure they are tightened properly to prevent any movement.
We should complete the installation by checking that the seal created by the caulk is intact. This minimizes water ingress into the flue, enhancing the life of our chimney cap. By following these steps, we ensure a functional and effective chimney cap installation.
Safety and Maintenance
Maintaining a chimney cap is critical for both safety and functionality. We should prioritize safety precautions during installation and regular maintenance to ensure that our chimney system operates effectively.
Safety Precautions
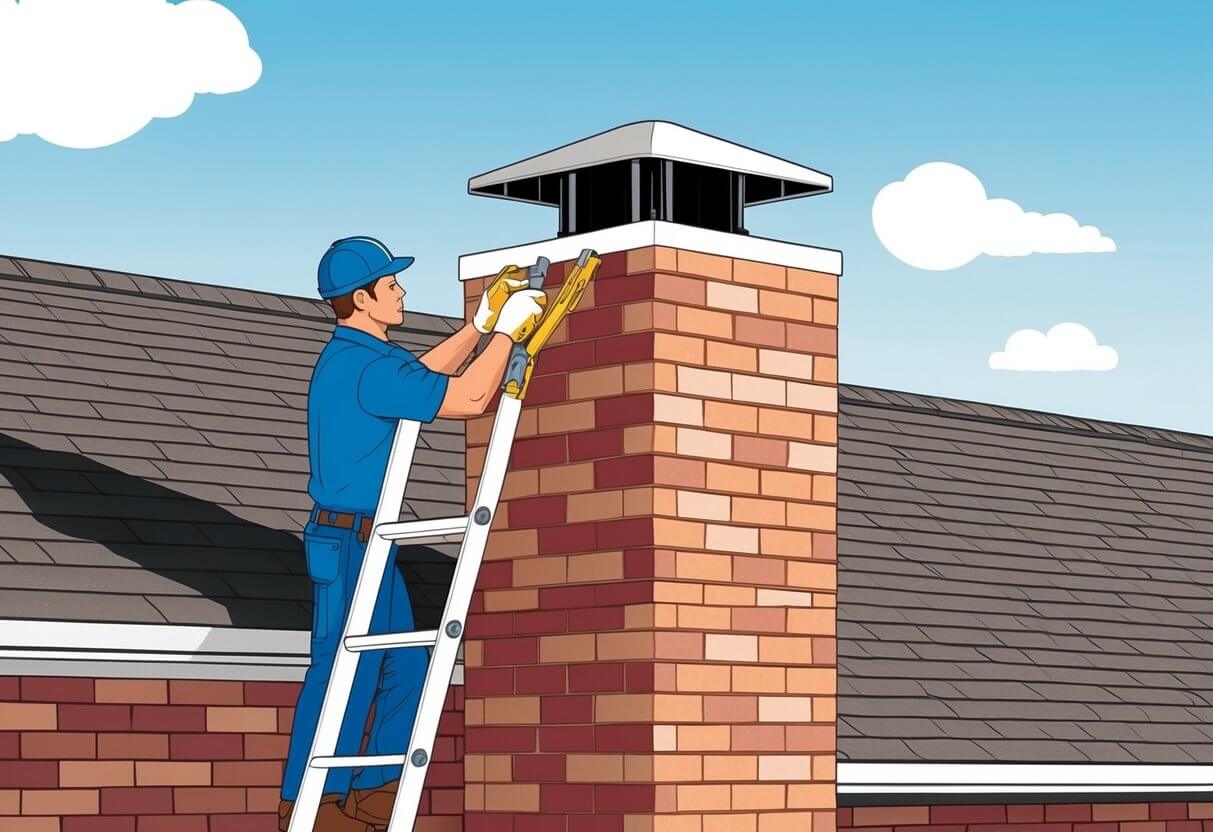
Before climbing to the roof, we must use appropriate safety equipment. A safety harness is essential, especially for steep roofs. Ensure that our ladder is securely positioned and extend it to a suitable height. It’s advisable to have a companion nearby to assist and observe while we work.
When removing an old chimney cap, we should be cautious of creosote buildup, which can be flammable. Using gloves and a dust mask can mitigate exposure to harmful particles. Additionally, we must verify that the chimney is cool to the touch before any work begins to prevent burns.
Routine Cleaning and Upkeep
Regular cleaning is vital for the chimney cap’s longevity and effectiveness. We recommend scheduling maintenance at least once a year, ideally before the heating season begins. During inspections, we should look for signs of damage or corrosion to the chimney crown and cap.
In cleaning, a stiff-bristled brush or a specialized chimney brush will help remove debris and any buildup of creosote. If we notice significant blockages or the need for repairs, calling a professional chimney sweep is recommended. Keeping the cap clear of leaves, dirt, and animal nests will enhance its functionality and ensure proper ventilation.
Professional Vs. DIY Installation
When deciding between a professional or DIY chimney cap installation, it’s important to balance your skills with the need for safety and precision. While both options can improve efficiency and protect your home, certain situations call for expert help. At Chimcare, we specialize in ensuring your chimney is properly capped, preventing potential damage and maximizing efficiency. Trust our professionals to get the job done right, so you can have peace of mind knowing your home is protected.
Assessing DIY Capabilities
Before committing to a DIY installation, we must evaluate our experience and comfort level on rooftops. Installing a chimney cap requires knowledge of how to safely navigate heights and a careful approach to prevent accidents.
Consider the following factors:
- Tools Required: Do we own the necessary tools, or will we need to purchase or rent them?
- Physical Ability: Are we comfortable working on a ladder and handling equipment?
- Knowledge of Techniques: Do we understand how to properly secure the cap to ensure it remains efficient against weather elements?
If we can confidently answer these questions, a DIY installation could be achievable. It may save us some costs, with materials typically ranging from $50 to $500 depending on size and type.
When to Hire a Professional
If our assessment leans toward uncertainty, or if we have limited experience, hiring a professional may be the safest choice. Professionals bring expertise that ensures the chimney cap is installed correctly, resulting in long-term efficiency and protection.
Here are key considerations for hiring a professional:
- Safety Risks: Professionals have the training to handle heights and unforeseen challenges during installation.
- Efficiency Guarantees: An expert ensures that the cap is level and securely fastened, preventing potential water or pest intrusion.
- Time Savings: Hiring a professional can save us time, allowing us to focus on other home maintenance tasks.
In essence, if safety and precision are priorities, we should consider professional installation for our chimney cap needs.
Frequently Asked Questions
In this section, we address common queries regarding chimney cap installation. We will cover the process for various situations, factors influencing costs, and the considerations for DIY efforts.
How can one install a chimney cap if there is no flue present?
Installing a chimney cap without a flue can be challenging. We need to ensure a proper seal over the chimney opening to prevent debris and water entry. We might use a solid cap that covers the entire chimney top, ensuring it is securely fastened to withstand winds.
What factors affect the cost of chimney cap installation?
The cost can vary based on several factors. Material choice, style, and whether we choose a DIY approach or hire a professional all play significant roles. Additionally, local labor rates and the complexity of the installation can influence the overall cost.
Is do-it-yourself chimney cap installation advisable and what are the considerations?
DIY installation can be manageable for those with experience. We should assess our comfort level with heights and tools. Safety measures, proper measurements, and understanding the specific chimney type are crucial to ensure a successful installation.
What steps are involved in installing a chimney cap on a brick chimney?
To install a cap on a brick chimney, we first measure the chimney’s width and length. After gathering the necessary tools and materials, we position the cap on top and secure it using screws or masonry adhesive. Ensuring a tight fit will help avoid water infiltration.
How do you find a reliable chimney cap installation service?
Finding a reliable service requires research. We can ask for referrals or check online reviews. Ensuring that the installer is licensed and insured, along with obtaining multiple quotes, will help us make an informed decision.
What are some lasting solutions for capping a chimney?
Durable materials like stainless steel or copper can provide lasting solutions for capping chimneys. Proper installation techniques, combined with regular maintenance, will extend the cap’s lifespan. Selecting a well-designed cap that suits our chimney’s specific needs is important for long-term effectiveness.

 We Ship Anywhere USA & Canada


