How to Identify and Repair a Cracked Chimney Cap: Essential Steps for Homeowners

Introduction
A cracked chimney cap can lead to significant problems for homeowners, including water damage, pest infestations, and potential fire hazards. Identifying and addressing these issues promptly is crucial for maintaining a safe and efficient home. Regular inspection and timely repair of chimney caps can prevent costly damage and ensure the longevity of your chimney system.
We’ll guide you through the process of identifying signs of chimney cap damage and provide practical steps for repair. From simple cracks to more extensive damage, we’ll cover various repair methods and when it might be necessary to consider a full replacement. By following our expert advice, you’ll be equipped to handle common chimney cap issues and maintain the integrity of your home’s heating system.
Key Takeaways
- Regular chimney cap inspections are essential for home safety and maintenance
- Minor cracks can often be repaired with specialized sealants or mortar
- Severely damaged caps may require professional replacement to ensure proper function
Understanding Chimney Cap Functions and Importance

Chimney caps play a vital role in protecting and maintaining your chimney system. These essential components serve multiple purposes and come in various materials to suit different needs.
Key Roles of Chimney Caps
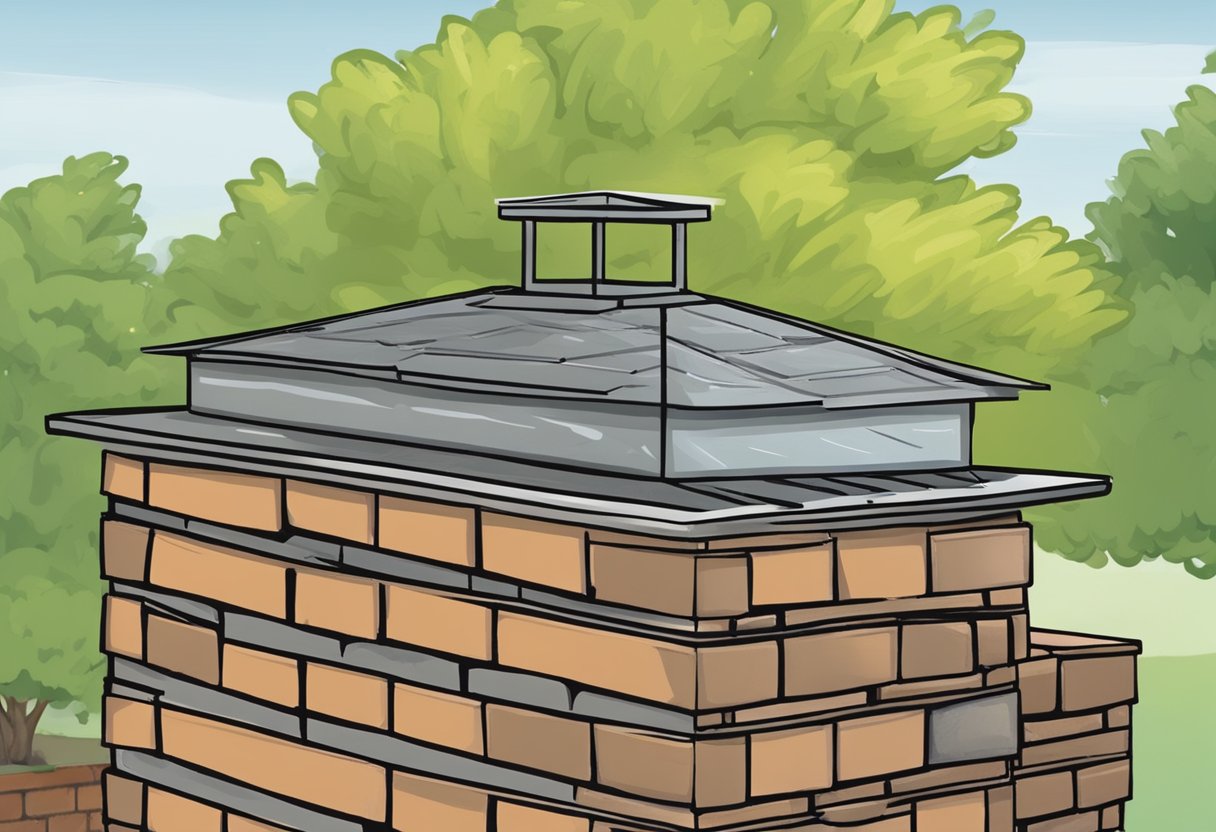
Chimney caps act as a protective barrier for your chimney and home. They prevent rain and snow from entering the flue, which can cause moisture damage and deterioration over time.
We’ve found that chimney caps also keep animals like birds, squirrels, and raccoons from nesting in or entering your home through the chimney. This prevents potential blockages and unwanted guests.
Another crucial function is spark arrestment. Chimney caps contain mesh screens that catch and extinguish hot embers, reducing the risk of roof fires.
Lastly, they improve ventilation by preventing downdrafts that can push smoke back into your home. This ensures proper airflow and enhances the efficiency of your fireplace or heating appliance.
Common Materials Used for Chimney Caps
We typically see chimney caps made from three main materials: stainless steel, copper, and aluminum. Each has its own advantages.
Stainless steel caps are durable, resistant to rust, and suitable for most climates. They offer excellent longevity and require minimal maintenance.
Copper chimney caps provide a stunning aesthetic appeal. They develop a beautiful patina over time and are naturally resistant to corrosion. However, they are often more expensive than other options.
Aluminum caps are lightweight and cost-effective. They work well in mild climates but may not be as durable as stainless steel or copper in harsh weather conditions.
Signs of Chimney Cap Wear and Damage
Regular inspection of your chimney cap can help identify issues before they become serious problems. We recommend looking for these signs of wear and damage:
- Visible cracks or holes in the cap
- Rust or corrosion, especially on metal caps
- Loose or missing parts
- Warping or deformation of the cap structure
If your chimney cap is visibly damaged, cracked, or missing, it’s crucial to replace it promptly. A damaged cap can lead to water entry, animal intrusion, and reduced chimney performance.
Rust and corrosion on metal caps, particularly those made of lower-quality materials, can compromise their protective function. In such cases, replacement is often necessary to ensure continued protection for your chimney system.
Conducting a Thorough Chimney Inspection

A comprehensive chimney inspection is crucial for identifying potential issues and ensuring the safety of your home. We’ll cover essential safety measures, methods for spotting visible damage, and techniques to assess structural integrity.
Safety Precautions During Inspection
Before beginning the inspection, we must prioritize safety. Wear sturdy, non-slip shoes and use a stable ladder that extends at least 3 feet above the roof edge. We recommend having a spotter to hold the ladder and assist if needed.
Always inspect on a dry, clear day to avoid slippery surfaces. Wear protective gear such as gloves and safety glasses. Keep a cell phone handy in case of emergencies.
If you’re uncomfortable with heights or lack experience, it’s best to hire a professional chimney inspector. They have the proper equipment and training to conduct a safe and thorough examination.
Identifying Visible Damage and Leaks
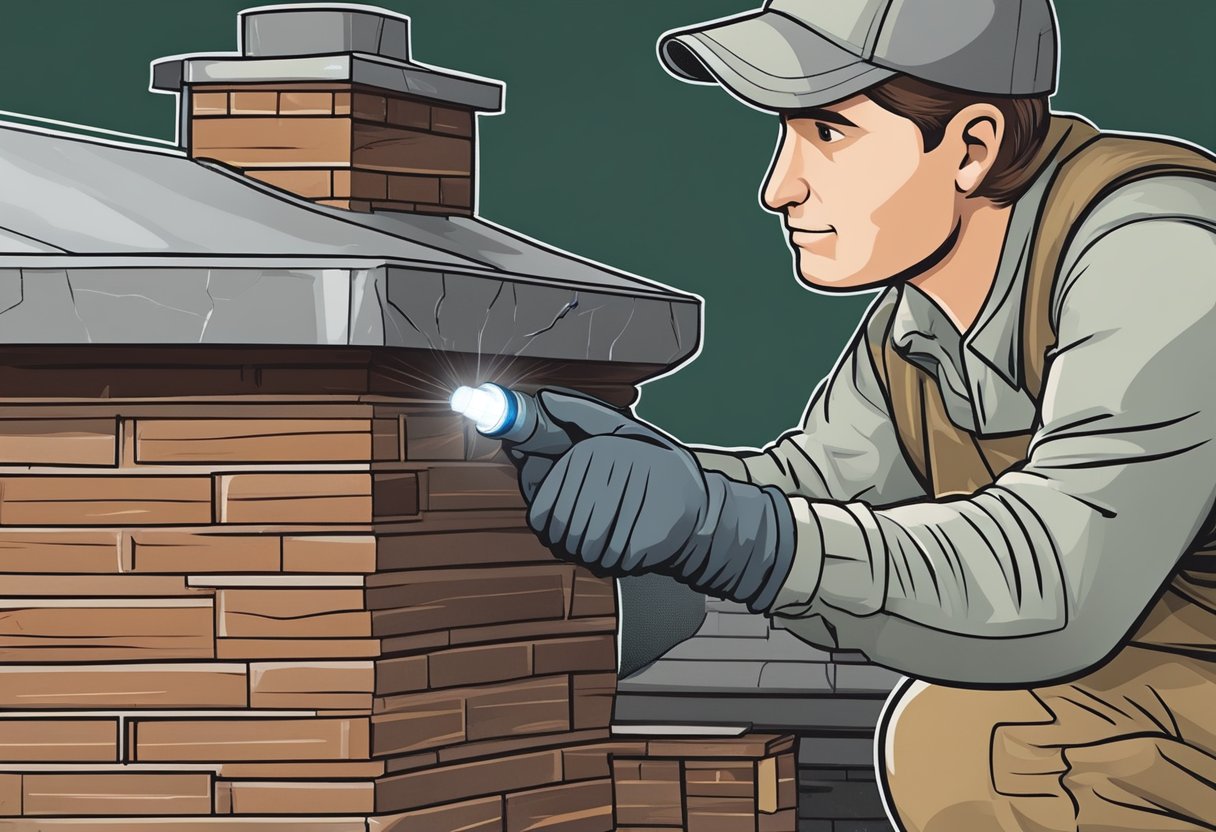
Start by examining the chimney cap for cracks, rust, or missing pieces. Check the flashing where the chimney meets the roof for gaps or signs of water intrusion.
Look for spalling bricks, which appear cracked, flaked, or crumbling. This can indicate moisture damage. White stains on bricks, known as efflorescence, also suggest water issues.
Inspect the mortar joints between bricks for deterioration or gaps. These can allow water to penetrate and cause further damage. Check for any vegetation growing on or around the chimney, as this can lead to structural issues.
Assessing the Chimney for Structural Integrity
Examine the chimney’s overall alignment. A leaning chimney indicates serious structural problems and requires immediate professional attention.
Use a level to check if the chimney is plumb (vertically straight). Place it against each side of the chimney to detect any tilting.
Inspect the chimney flue for cracks or missing pieces. A damaged flue can allow dangerous gases to enter your home. Look for any bulges or separations in the chimney structure.
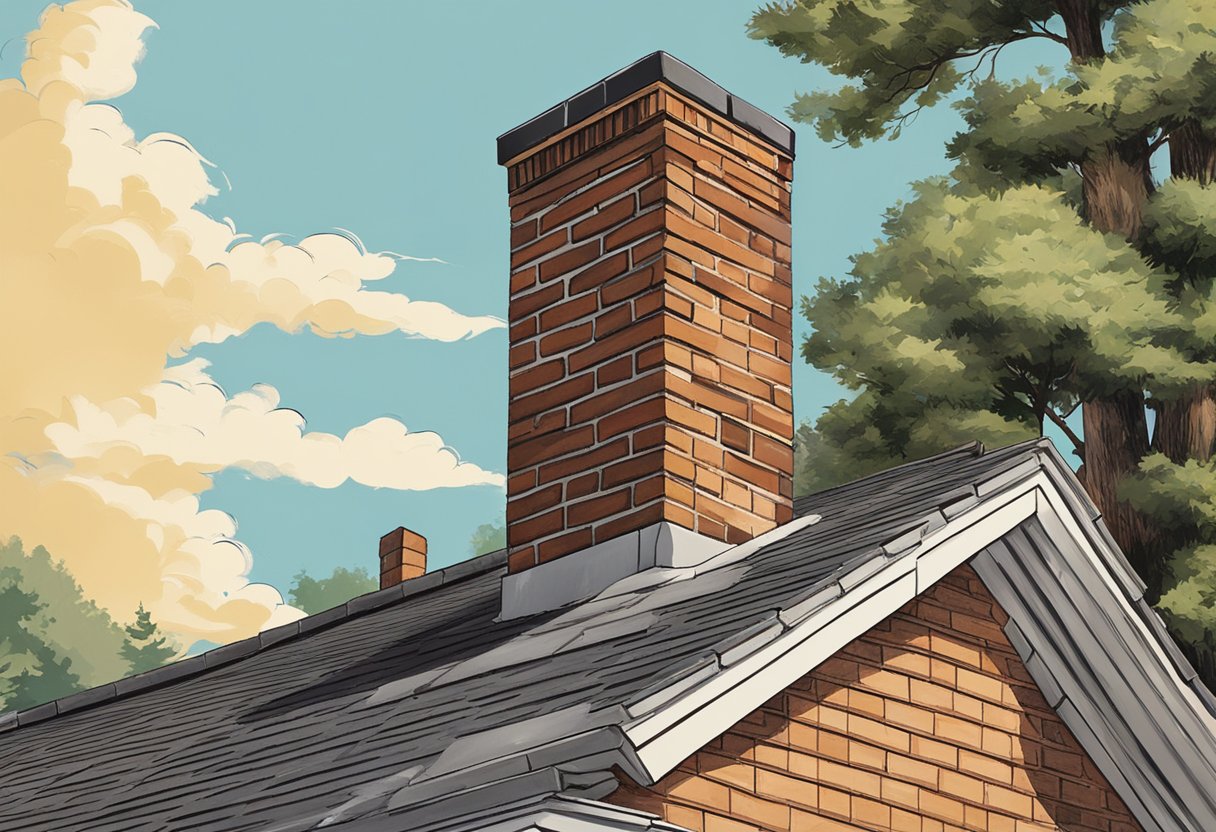
Check the chimney crown (the sloped concrete top) for cracks or deterioration. A damaged crown can allow water to seep into the chimney, causing extensive damage over time.
Repairing Minor and Major Chimney Cap Cracks
Chimney cap cracks require prompt attention to prevent further damage. We’ll explore effective repair methods for both minor and severe cracks, from quick fixes to full replacements.
Temporary Fixes for Minor Cracks
For small cracks in chimney caps, we recommend using a high-quality chimney sealant. Clean the area thoroughly before application. Apply the sealant with a brush or roller, ensuring even coverage.
Allow it to dry completely before using the chimney. This temporary fix can prevent water infiltration and further deterioration.
For slightly larger cracks, a chimney repair kit might be more suitable. These kits often include:
- Epoxy or cement-based filler
- Application tools
- Detailed instructions
Follow the manufacturer’s guidelines carefully for best results. We advise reapplying crown sealant annually to maintain protection.
Addressing Major Cracks and Replacement Options
Severe cracks often require more extensive intervention. In some cases, partial rebuilding of the chimney cap might be necessary. We recommend consulting a professional for this level of repair.
For badly damaged caps, full replacement may be the best option. New chimney caps offer several benefits:
- Enhanced protection against water damage
- Improved energy efficiency
- Prevention of animal intrusion
When selecting a new cap, consider factors such as:
- Material durability (stainless steel, copper, etc.)
- Mesh size for spark arrestor function
- Compatibility with your chimney’s dimensions
Professional installation ensures proper fit and function. Regular inspections can help catch issues early, potentially avoiding the need for full replacement in the future.
Maintaining Your Chimney to Prevent Future Damage

Regular maintenance and preventive measures are crucial for keeping your chimney in top condition. By taking proactive steps, we can significantly reduce the risk of cracks and other damage.
Routine Chimney Maintenance and Upkeep
We recommend scheduling annual chimney inspections and cleanings with a certified chimney sweep. These professionals can spot early signs of wear and address them before they become major issues.
Cleaning the flue regularly removes creosote buildup, which can cause chimney fires if left unchecked. We advise checking the chimney cap monthly for debris or damage.
It’s important to keep an eye on the chimney crown and flashing. Cracks in the crown can lead to water damage, while damaged flashing may cause leaks. Prompt repairs to these areas can prevent more extensive damage down the line.
Protective Measures and Long-term Care
Installing a quality chimney cap is one of the best long-term investments for chimney protection. A durable cap keeps out rain, snow, and animals, reducing wear on the chimney structure.
We strongly recommend applying a waterproof sealant to the chimney’s exterior. This creates a protective barrier against moisture, which is a primary cause of brick deterioration and mortar joint damage.
Trimming overhanging tree branches can prevent leaves and debris from clogging the chimney. It also reduces the risk of damage from falling limbs during storms.
Regular maintenance of gutters and downspouts ensures proper water drainage away from the chimney base, preventing water damage to the foundation.
Chimney Cap Replacement: When and How
Replacing a chimney cap is sometimes necessary to ensure proper protection for your chimney and home. We’ll explore when replacement is needed and provide a step-by-step guide for the process.
Deciding to Replace Instead of Repair
A chimney cap replacement becomes necessary when the existing cap is severely damaged or no longer fits properly. Signs indicating replacement include extensive rust, large cracks, or a warped shape that allows water infiltration.
We recommend replacing the cap if repairs would cost more than 50% of a new cap’s price. Rust and corrosion are common issues that often necessitate replacement.
If your cap is over 10 years old, replacement may be more cost-effective than repairs. A new chimney cap ensures optimal protection and can improve your chimney’s efficiency.
Step-by-Step Replacement Procedure
- Gather necessary tools: ladder, screwdriver, work gloves, and safety goggles.
- Set up the ladder securely and put on safety gear.
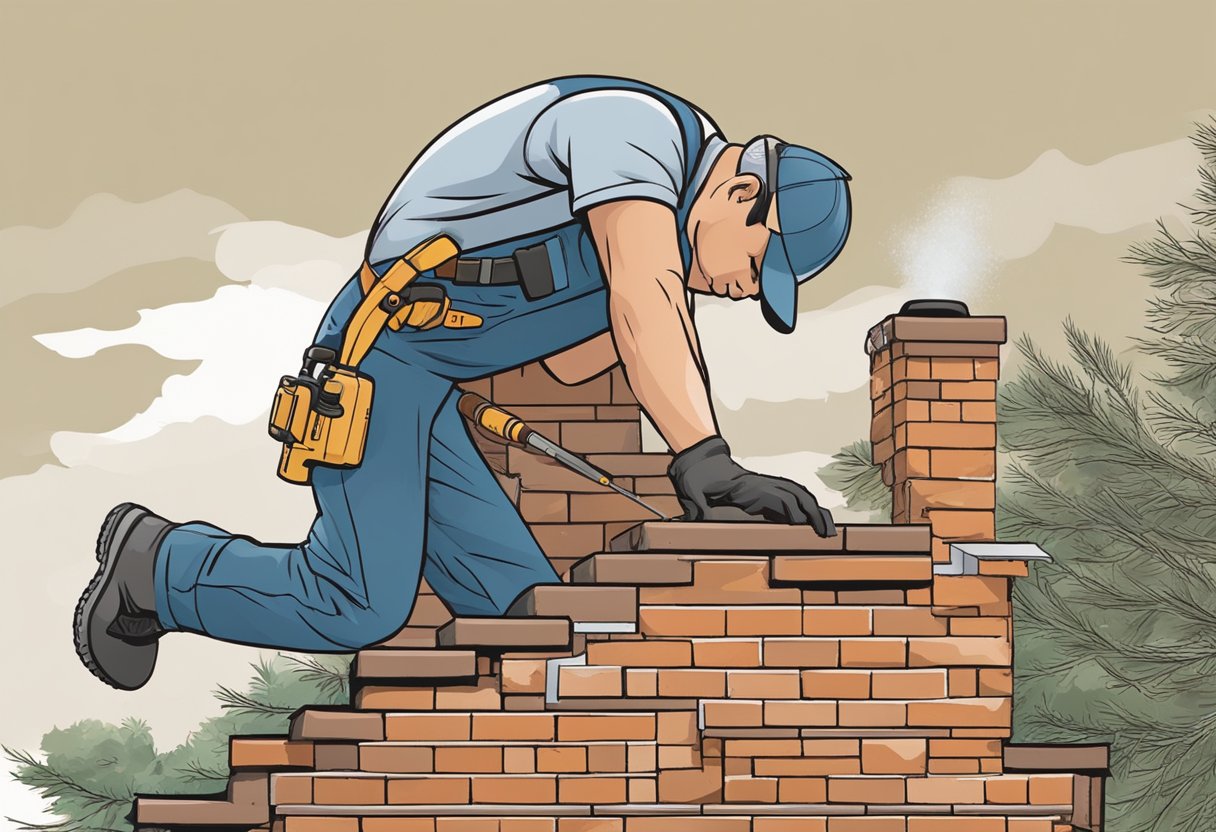
- Remove the old cap by unscrewing or unclasping it from the chimney crown.
- Measure the chimney’s dimensions to ensure the new cap fits properly.
- Clean the chimney crown of any debris or old sealant.
- Place the new chimney cap, ensuring it’s centered and level.
- Secure the new cap using screws or the provided fastening method.
- Apply a waterproof sealant around the base of the cap if recommended.
While DIY replacement is possible for some homeowners, we strongly advise hiring chimney service professionals or roofers for safe and proper installation, especially for complex or high chimneys.
Frequently Asked Questions
Chimney cap repair raises several common questions for homeowners. We’ve compiled answers to the most frequently asked queries to help you navigate this important home maintenance task.
What are the common signs that indicate a chimney cap needs to be repaired?
Broken chimney dampers can lead to energy inefficiency and backdrafting of smoke. Signs of a damaged chimney cap include visible cracks, rust, or missing pieces.
Unusual noises from the chimney or increased drafts may also indicate cap issues. Water stains on walls near the fireplace can suggest a compromised cap allowing moisture intrusion.
How much can I expect to pay for a chimney cap repair?
Chimney cap repair costs vary based on the extent of damage and materials used. Simple repairs might cost $100-$300, while complete replacements can range from $300-$600.
For custom or larger chimneys, costs may exceed $1000. We recommend getting multiple quotes from reputable contractors to ensure fair pricing.
What materials are best suited for repairing a cracked chimney crown?
Cement-based sealants or specialized chimney crown repair products work well for minor cracks. For more extensive damage, a complete crown rebuild using portland cement mixed with sand is often necessary.
Waterproof coatings can be applied after repairs to prevent future moisture damage. Always choose materials rated for high-temperature environments.
Where can I find professional chimney cap repair services in my area?
Local roofing companies often offer chimney cap repair services. We recommend checking with the National Chimney Sweep Guild or Chimney Safety Institute of America for certified professionals.
Online directories and review sites can help locate reputable contractors. Always verify licenses, insurance, and references before hiring.
Can a cracked chimney cap be repaired, or does it need complete replacement?
Minor cracks can often be repaired using sealants or patching compounds. However, extensive damage or aging caps may require full replacement for optimal performance and safety.
We advise having a professional assess the cap’s condition to determine the best course of action. Sometimes, repair costs may approach replacement costs, making a new cap more economical.
Is chimney crown damage typically covered by homeowners insurance policies?
Most standard homeowners insurance policies do not cover chimney crown damage due to wear and tear or lack of maintenance. However, damage from sudden events like storms or falling trees may be covered.
We recommend reviewing your policy details or speaking with your insurance agent to understand your specific coverage. Regular maintenance can help prevent costly repairs not covered by insurance.

 We Ship Anywhere USA & Canada

